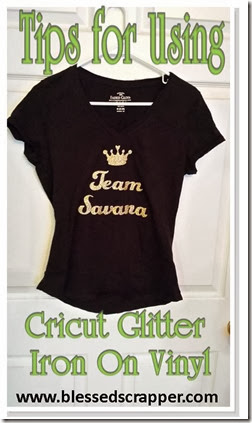
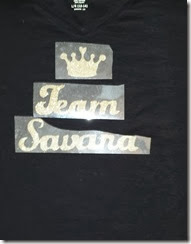
One of my latest projects was also probably my most challenging. Savana has her own little fan club. So, ever since last summer and all of her appearances at Java Joe’s they wanted team t-shirts.
Once they knew Savana was going to do Diva Quest I knew I would be making t-shirts. Inspired by the song she chose, “Gold” by Britt Nicole I was definitely using glitter.
I found Gold Glitter Iron On Vinyl made by Cricut at Michaels. I wish I had shopped around online, but I went to Michaels and paid $17.99. I was shocked when I opened it up and it was a single sheet 12×19. I needed to make 6 shirts. This is where Cricut Craft Room is a GOD SEND!
I used the crown from “Gypsy Wanderings” and my most favorite font ever from the Close to my Heart Cricut Artbooking cartridge. Because I was able to maneuver the images and turn them a bit, I was able to fit more than If I had not. I used a 12×24 mat and knew exactly where to place my images so they did not go past the 19” mark.
Whenever you are creating a t-shirt you need to flip the image. To do this on the Craft Room you will need to click on the image and then click the flip-h icon at the top.

Otherwise you will find the flip key right on your Cricut Machine.
Another very important thing to note is that the piece comes with a plastic that is the liner. Some other companies will have something like that but it will be use as a protectant. LEAVE the clear plastic on and lay the glitter side down on the mat.
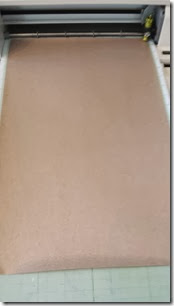
I used my trusty Cricut Expression. Depending on what machine you are using you will need to make adjustments.
UPDATE: If you have a Cricut Explore I (did not at the time, but now I do!) skip this part, you lucky dog! Your machine already knows this info. Man, I love my Cricut Explore so much!
The instructions on the back of the Cricut vinyl told me to do medium or 3 on the pressure as well as the blade depth. I followed that and it did not cut all the way through. I fed it back into the machine a couple more times and it was still very hard to see the cuts and they would not lift up from the vinyl. I have used regular vinyl and iron on without glitter, and using 3 or med has always been suffice. For this project I was limited on time and materials. So I had to make do.
It was a nightmare. To save yourself time and pain, be sure to test a piece.
When you lift up the vinyl, the words that you want should be the only thing left on the clear plastic. Then you will need to “weed” out the insides of letters and anything else you don’t need. Cricut has a weeding tool, but I just use a paper piercer. That is my “Jack of all Trades” tool.
Update: I bought a Cricut Weeding Tool. It is so worth it. I am just sayin’
HELPFUL TIPS
- I cut around the crown and the words individually, so there was a small edge of plastic.
- I used a regular cotton shirt from Wal-Mart.
- Washed, dried and ironed prior to.
- Lay shirt on ironing board and smooth out.
- Lay words and images down.
- Set iron at a high temperature and do not use steam.
- Cricut instructed me to use a white cotton towel over it while ironing. I had a Teflon sheet from the last time I bought iron on vinyl. It was highly recommended by www.vinylsuperstore.com. It worked a lot quicker than the towel did.
- Let it cool before you lift up plastic.
- If a piece is not quite attached, lay Teflon sheet or towel over it and apply heat again.
Here again is the finished product. Despite the problems I had I was really quite pleased with the final results. The glitter did not rub off and when it was heated up, it created a beautiful shiny gold that looked very professional.
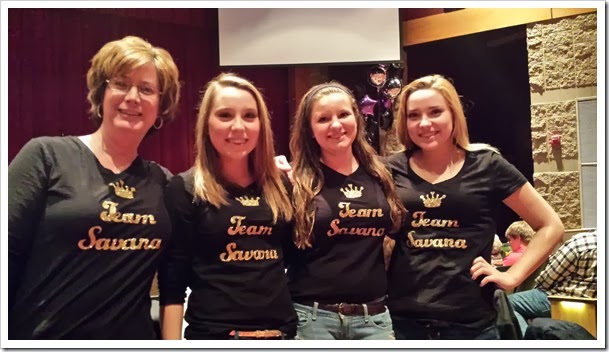
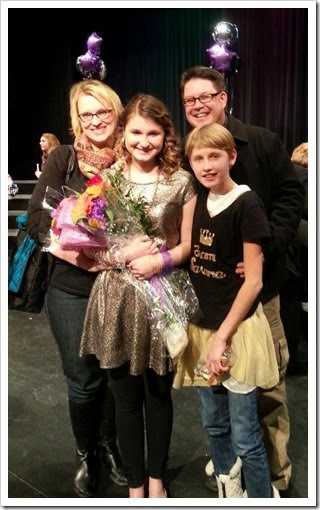
For those of you who might not know, Savana did a fantastic job. She didn’t win this time, but she already knows what song she wants to do next year. I wonder if I’ll be making t-shirts again.
Anyway, I hope you have found this helpful. It was such a fun way to add a personal touch. I would love to know if you have used the Glitter Iron On Vinyl and had any advice. Please feel free to leave a comment. I would love to see what you make!
