


My Creative Cottage. This is a work in progress, my labor of love. Actually, my friends and family’s labor and my love! LOL! So much of my heart and soul have been put into this space that went from the “Scrap Shack, to “the Shack’ to My Creative Cottage. That was because my dear customer and friend, Georgann told me one day after we added crown moulding that we could no longer call it a shack. It was so much more than that.
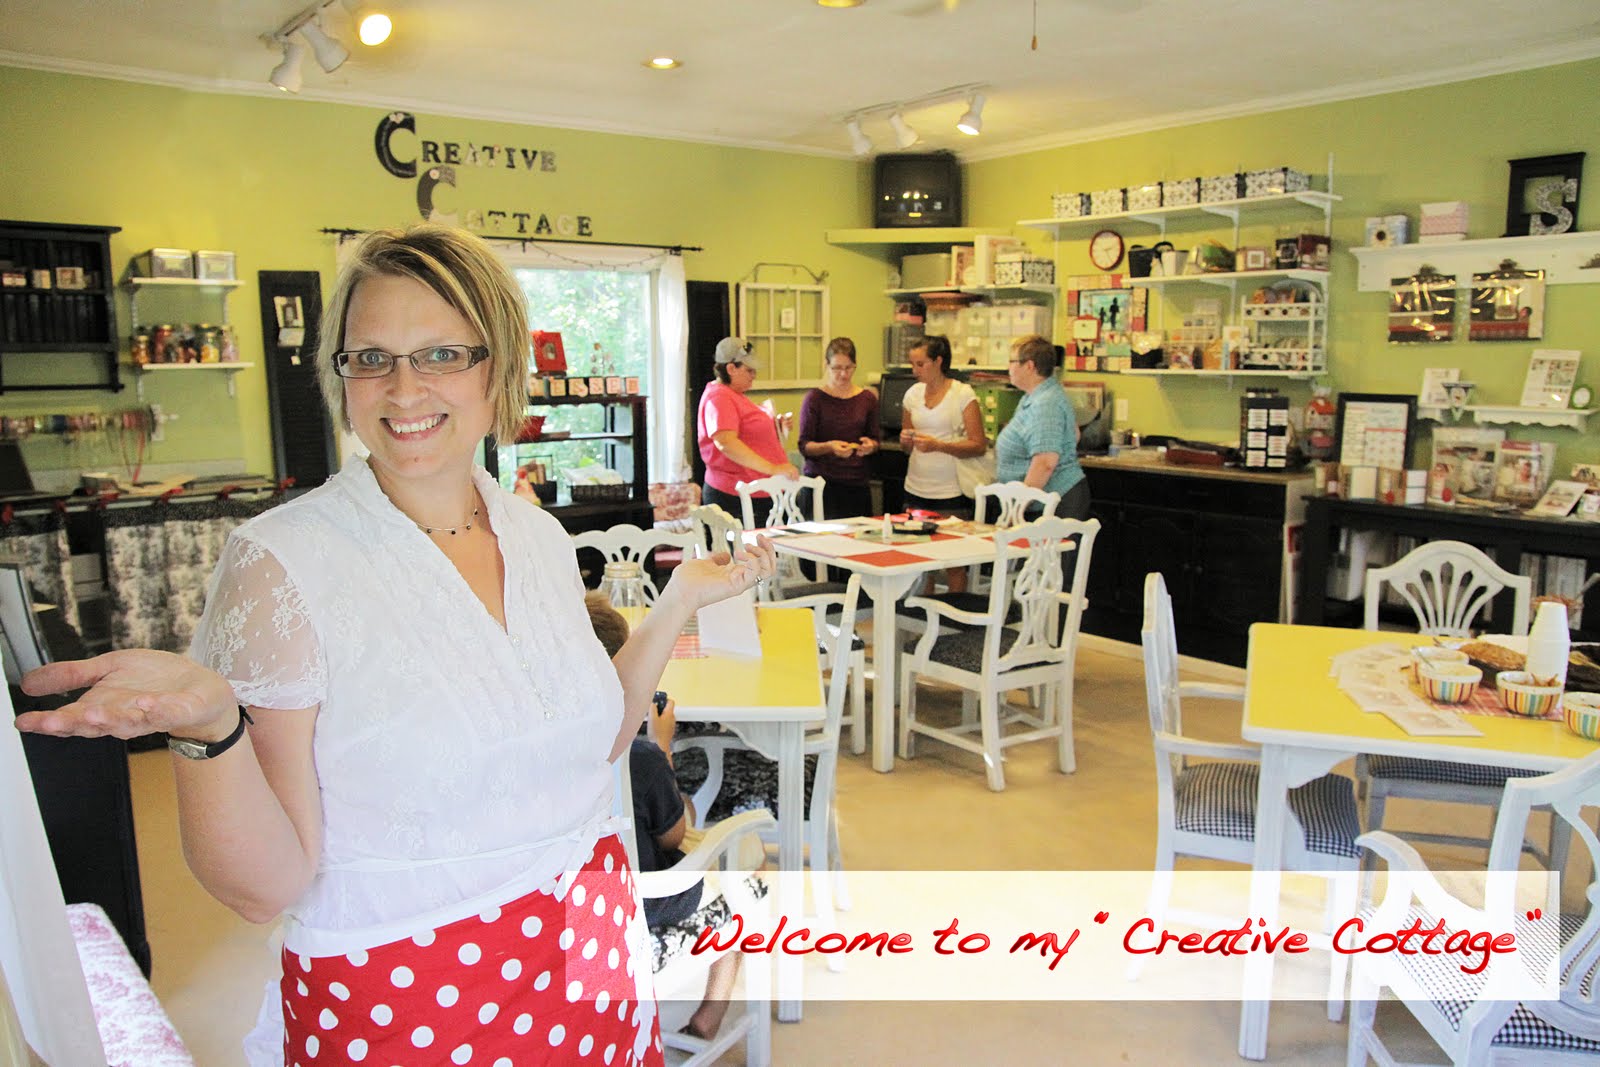
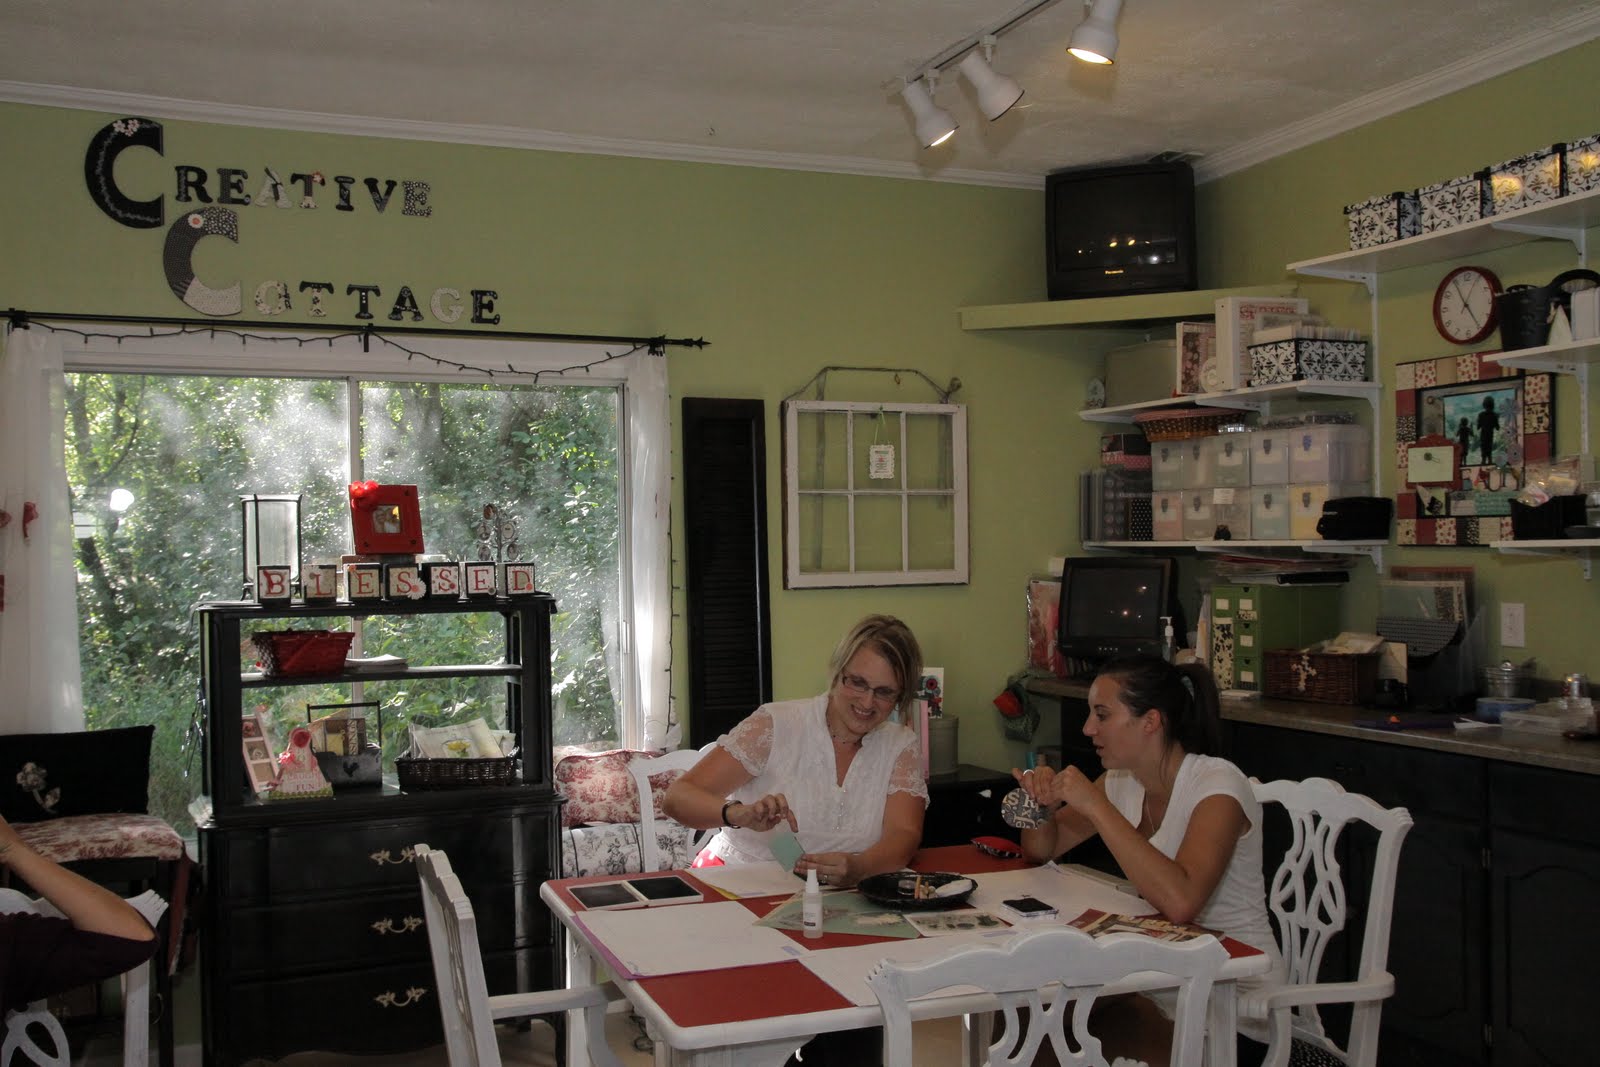
She was right. It is much more than that. It has become a community where women gather and feel safe to share a piece of themselves with each other. We have laughed, cried and vented. Because everyone knows, what happens at the cottage, stays at the cottage. When wives and moms are supposed to be out “grocery shopping” and are enjoying a creative escape instead, it brings joy to my heart. That is what this cottage has become to me, my heart.
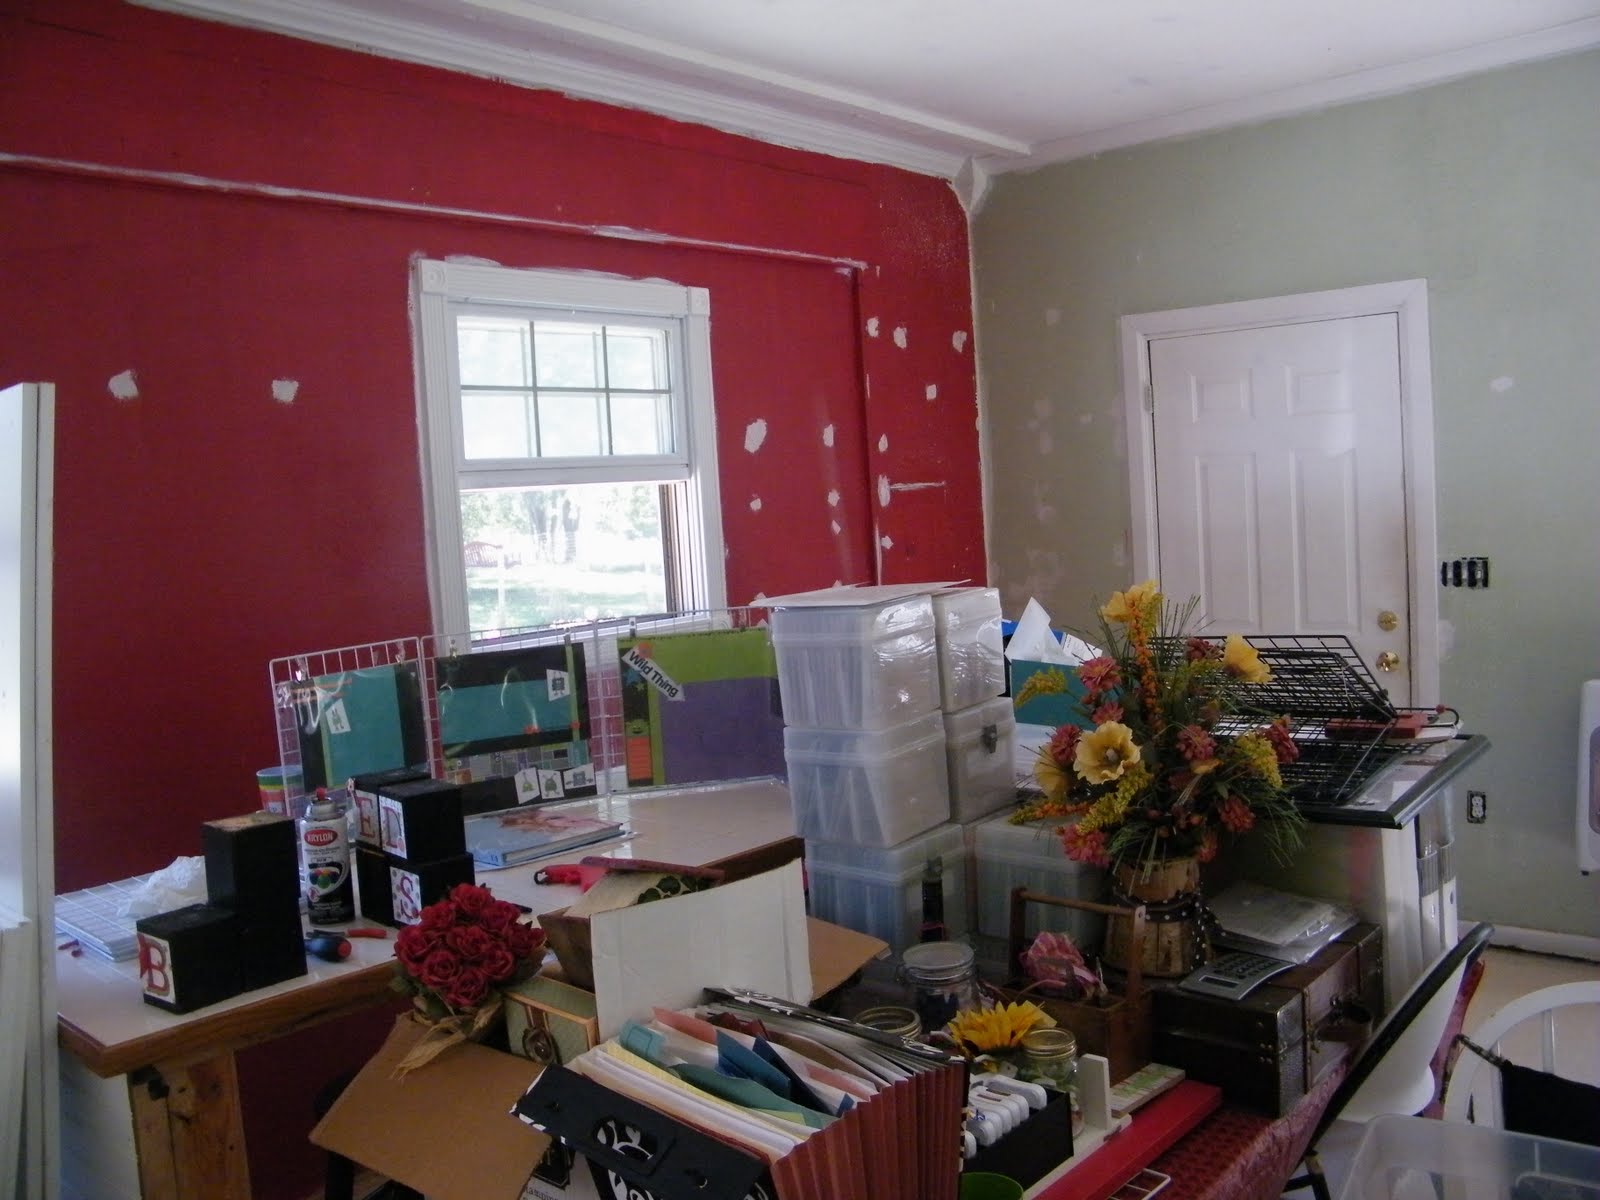
How did this all happen? Why now? were the questions. Long story short. I share this space with my team of consutlants. When Heidi and I were talking about dates she needed we started talking about projects I wanted to complete in there. I am always dreaming you know. As it turns out, her hubby works in construction doing flooring. So, it was born. Adding the floor meant I had to move everything out. So, naturally we had to paint the walls. The color I always wanted was weet leaf. And it’s like “If You Give a Mouse a Cookie”. If I was getting that color on my walls all my furniture had to be painted. I love black for it’s elegance and dramatic effect. I have loved toile and this color palette forvever. I am a classic girl I guess.
Keep in mind, this is still a work in progress and I will be posting a few more pics soon.
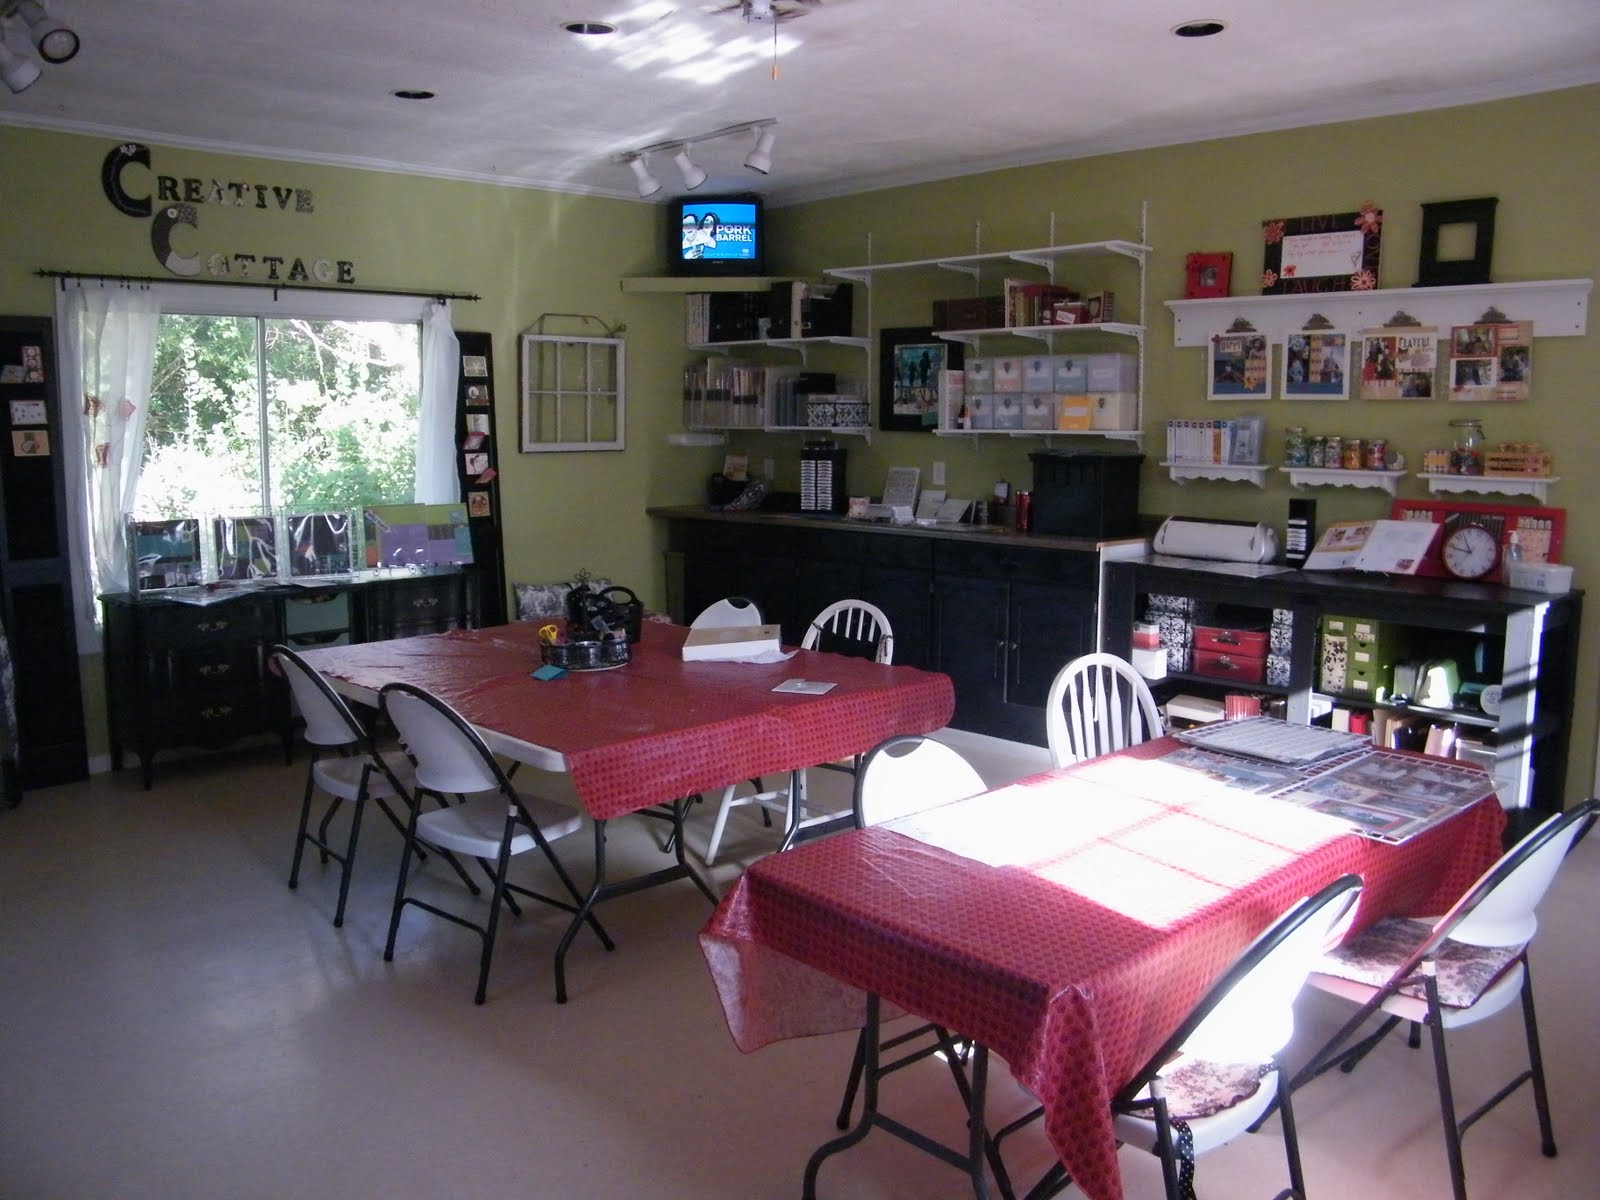
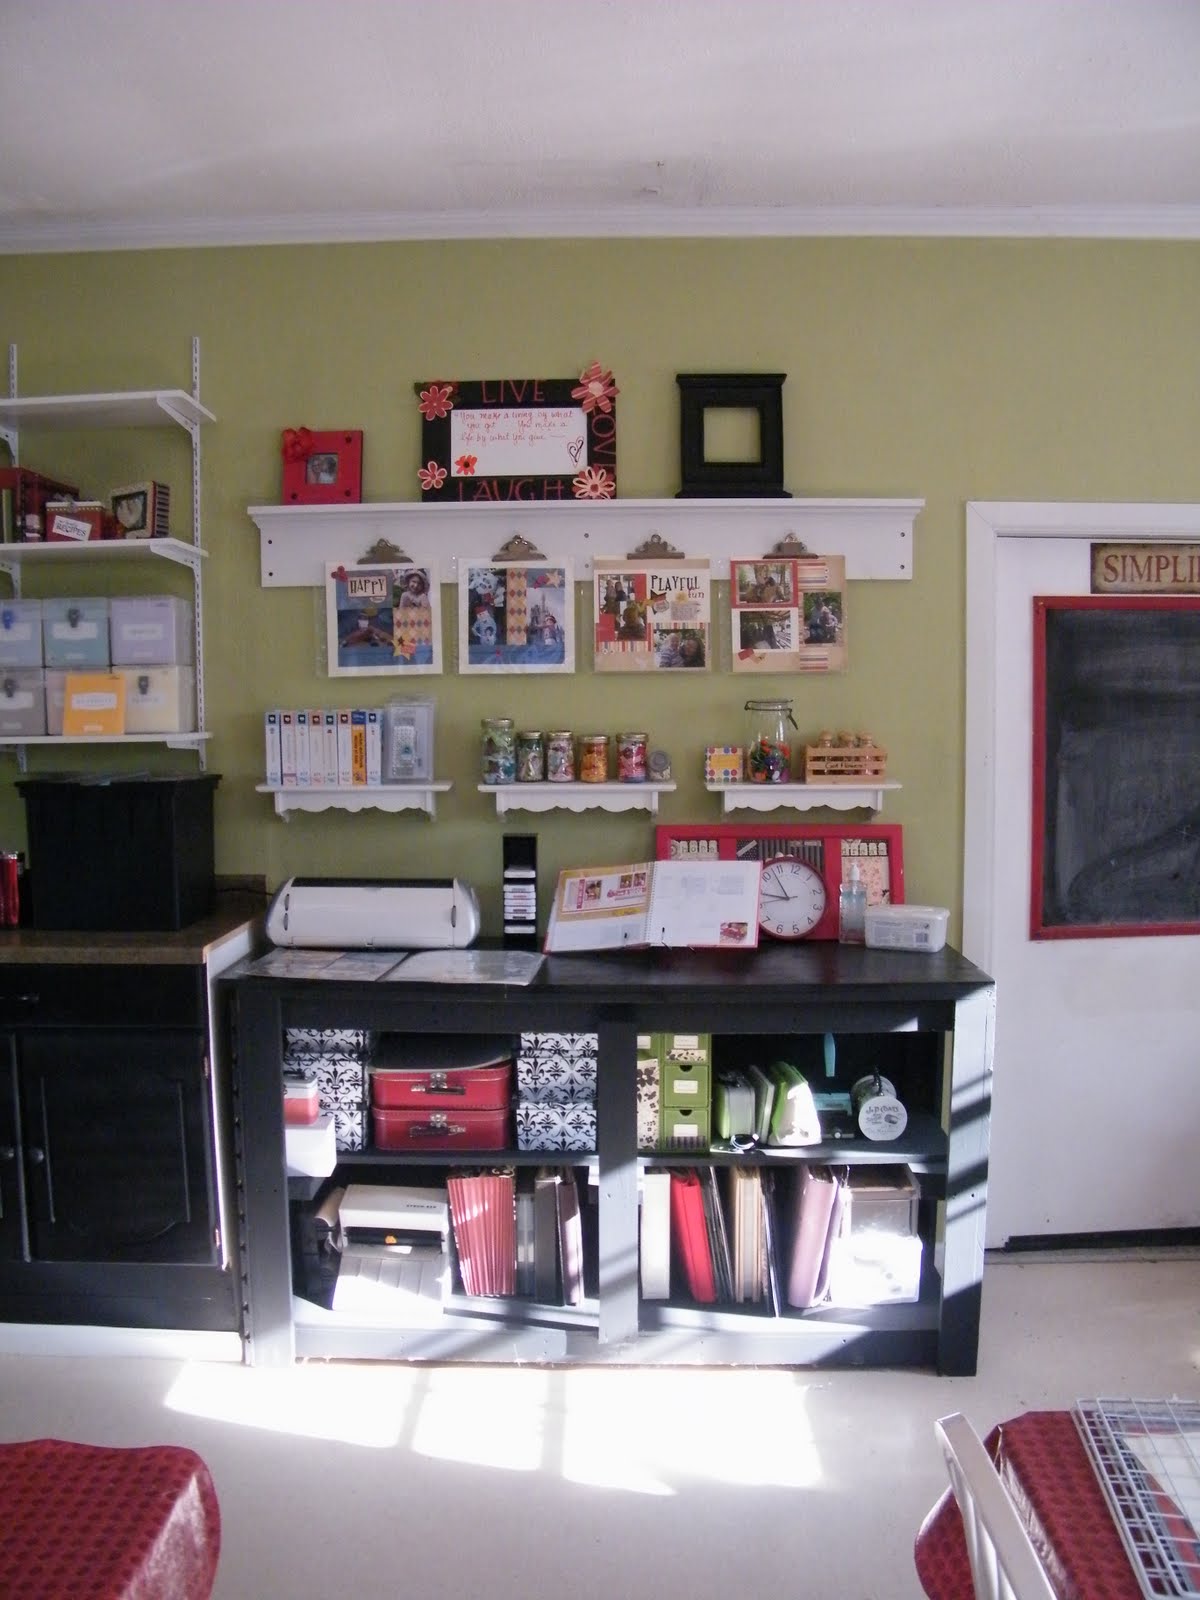


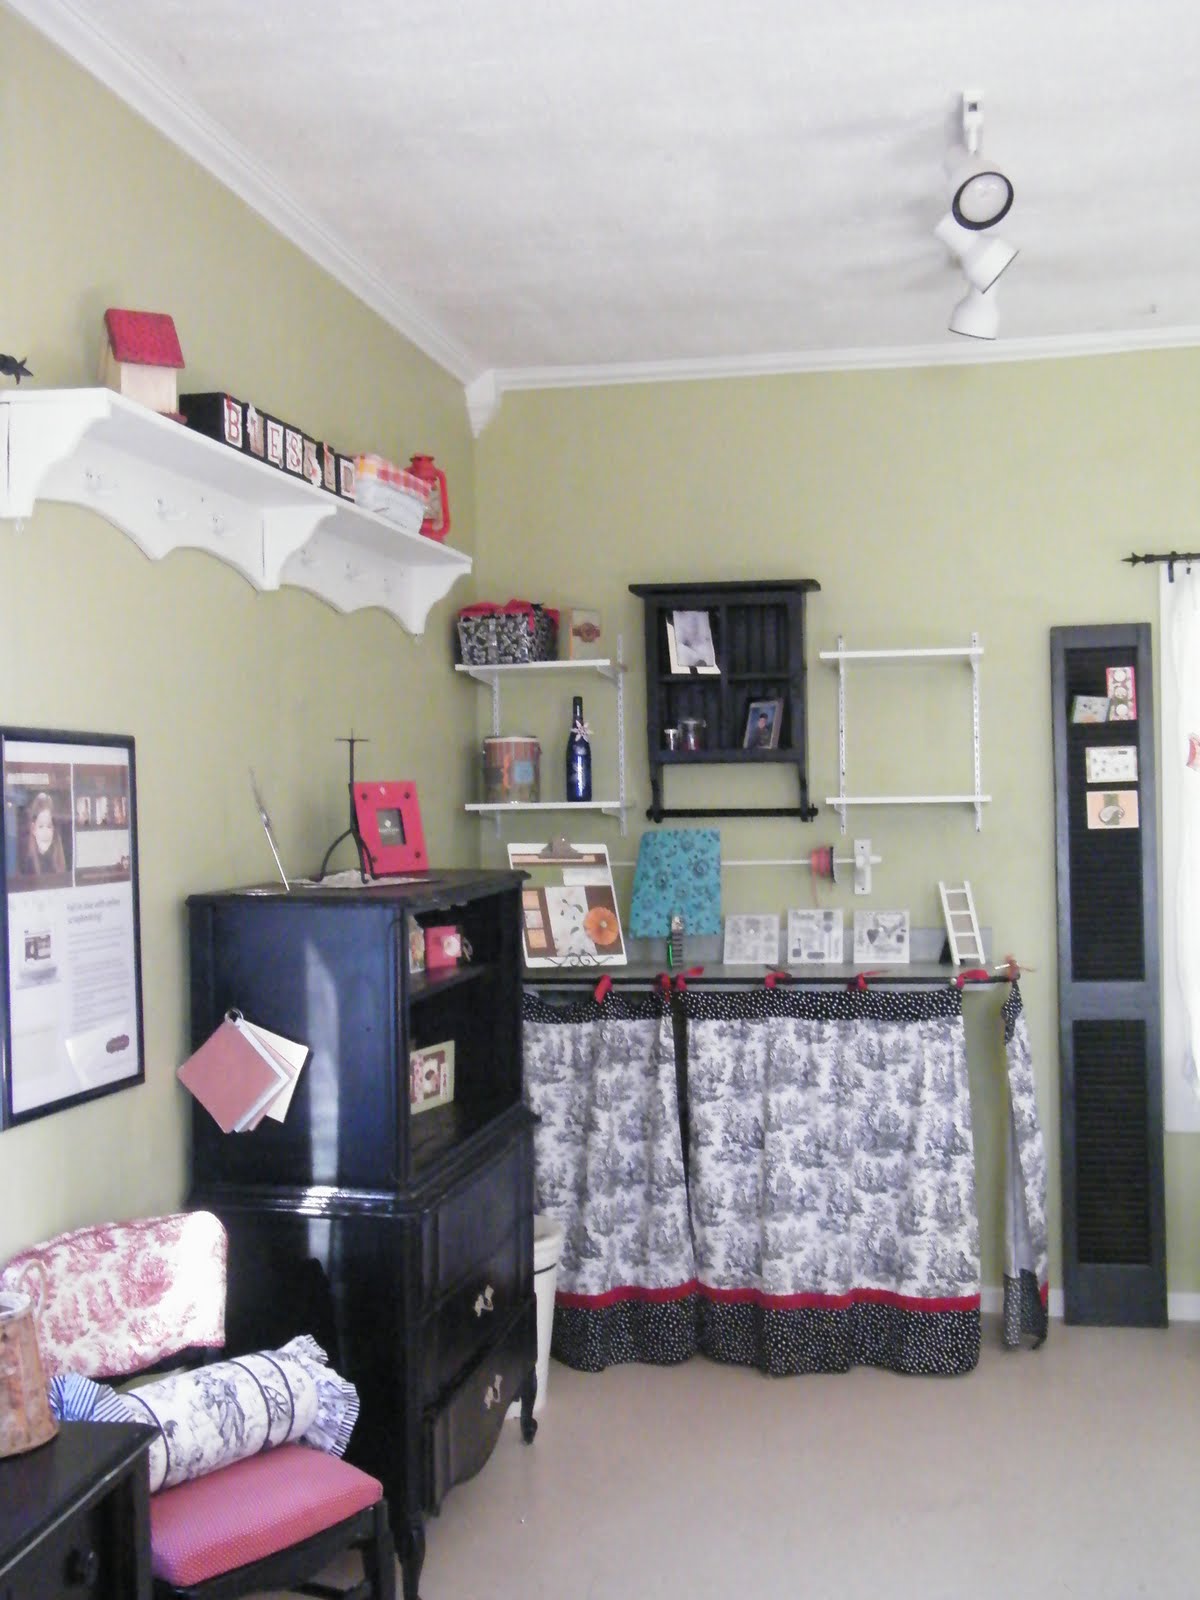
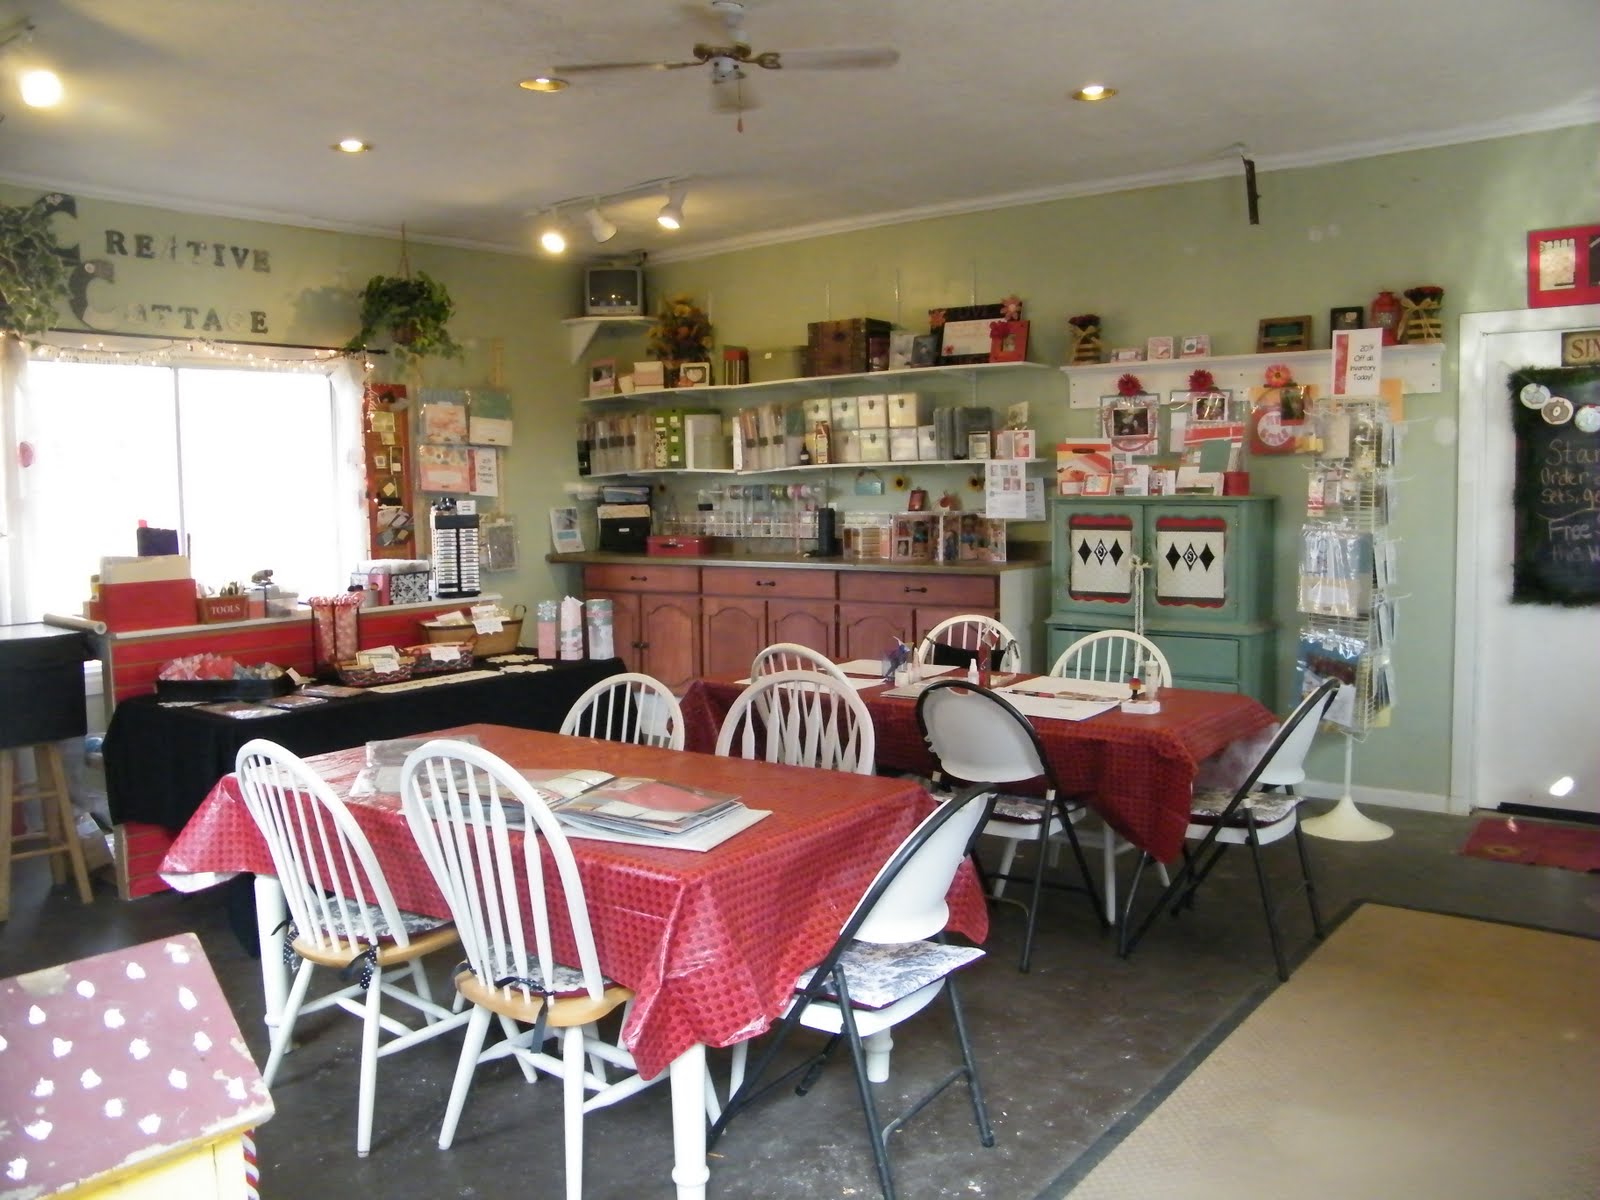
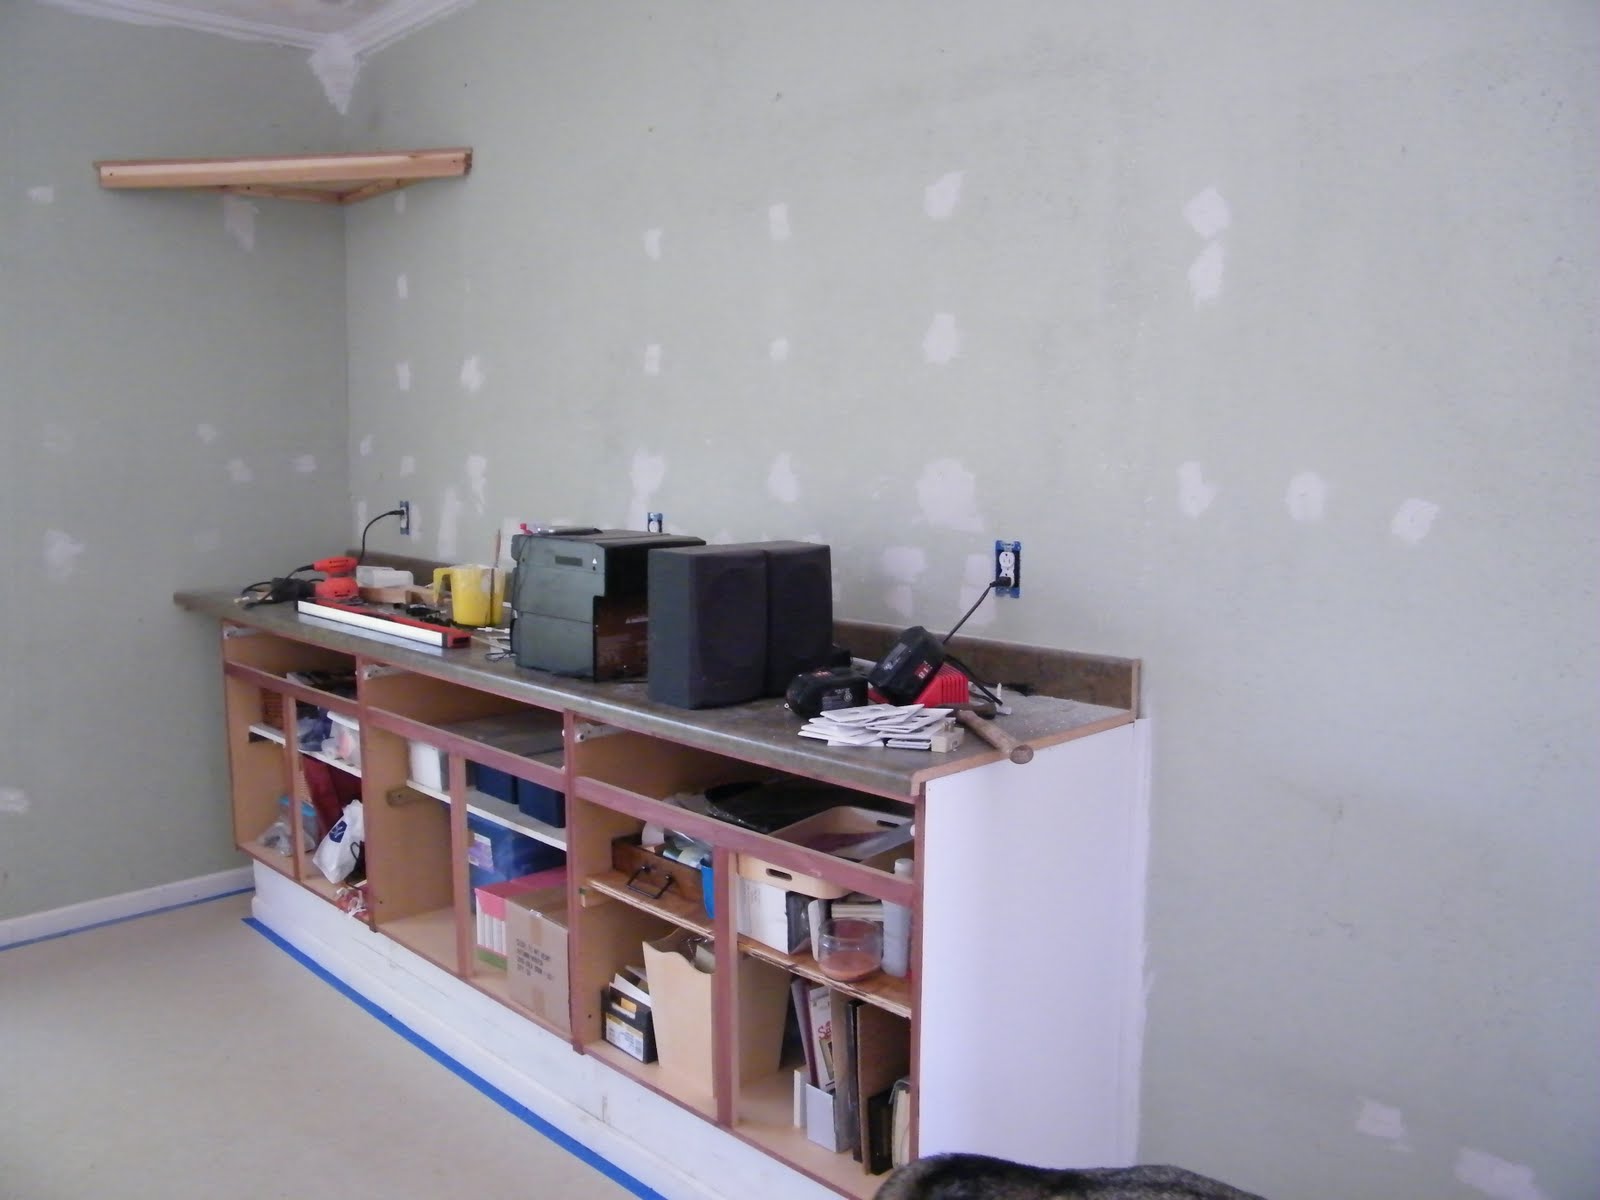
Again, here we split the shelves and added a cabinet in between. I also painted my shutters black. Which serves as a great card display and the work really stands out with the black background. The custom curtains really show now with the new floor. Those were made by my girl, Trudy. She is amazingly talented. She also made the chair back cover and bought me that cute pillow. That chair was a “gift” ftom a hubby a few years ago. He found it on the side of the road and brought the poor, ragged seat thing home to me. It was in good hands though. It looks great now!
I really could not have done ANY of this without my husband, and my partner in crime (just scraplifting-it’s ok) and crafting, Trudy. They dedicated a whole weekend to this endeavor and of course it happened to be on the HOTTEST and most humid days of the summer. I was prepared with lots of chocolate (for my hubby of course) and endless bottles of water. Scott played “his” music from his Ipod and we literally ROCKED it out!!!
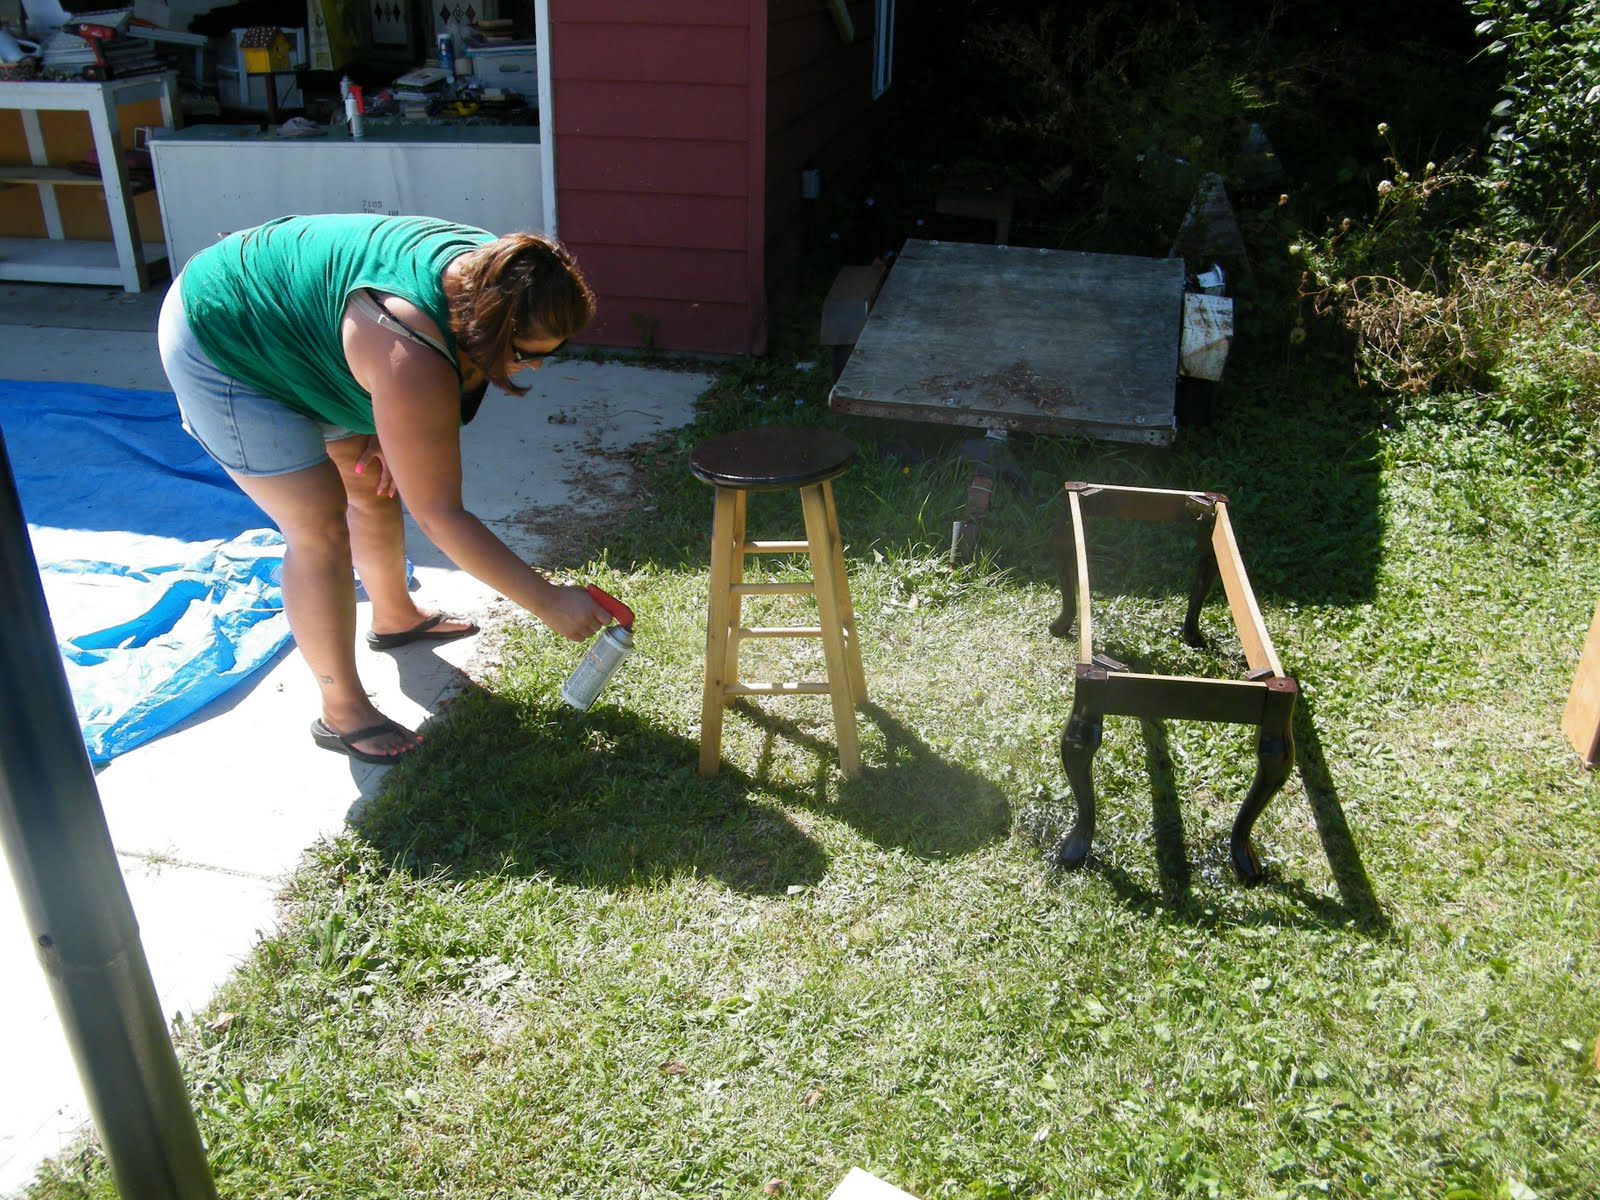
Here are some of the behind the scenes photos.
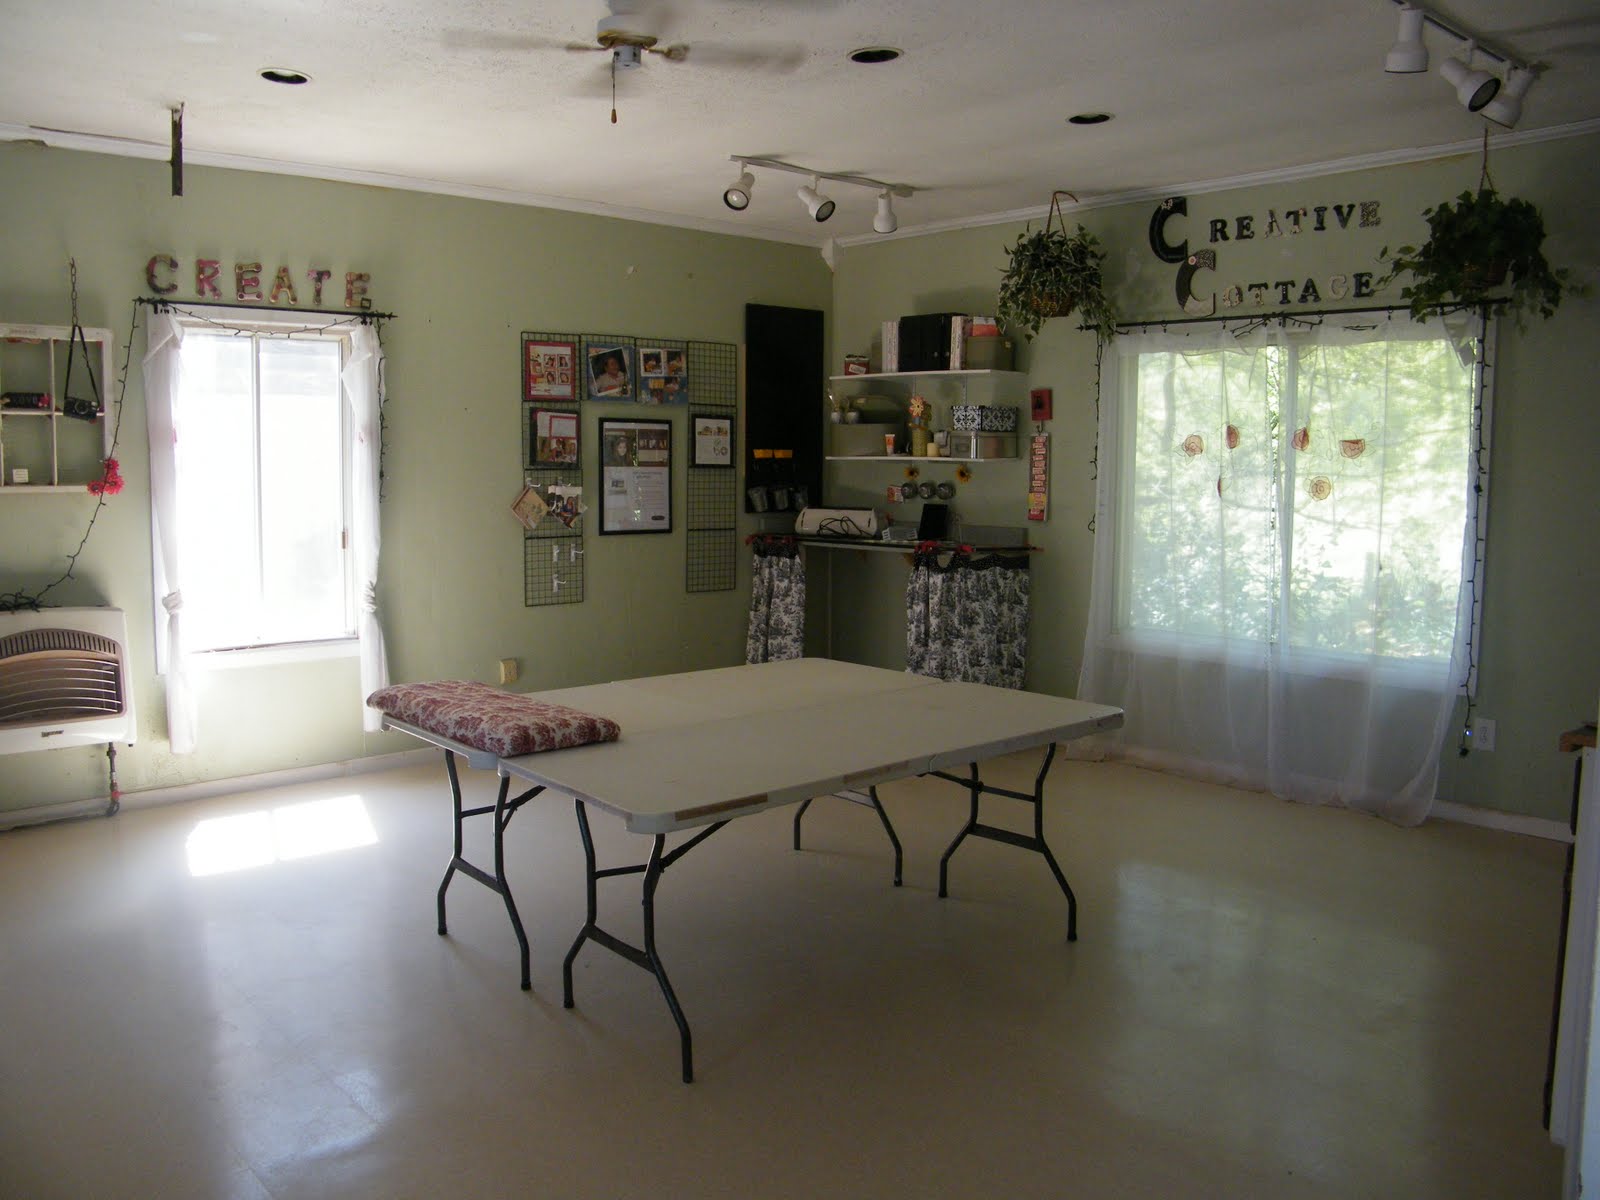
Thsi what it looked like before the mayhem of painting began. Isn’t the floor beautiful? Guess what? when you drop a brad now, you can FIND IT!!
Thanks for looking and I hope you are inspired to pick up a can of spray paint. If you have any questions, please ask. I just love to talk design and trash to treasure.
Until Then-
Blessings-
Sarita
Journey from Garage to Scrapbook Room A.K.A “My Creative Cottage”
I LOVE trash to treasure projects. Not saying my husband’s workshop was “trash”, but I’ve really made it into a treasure.
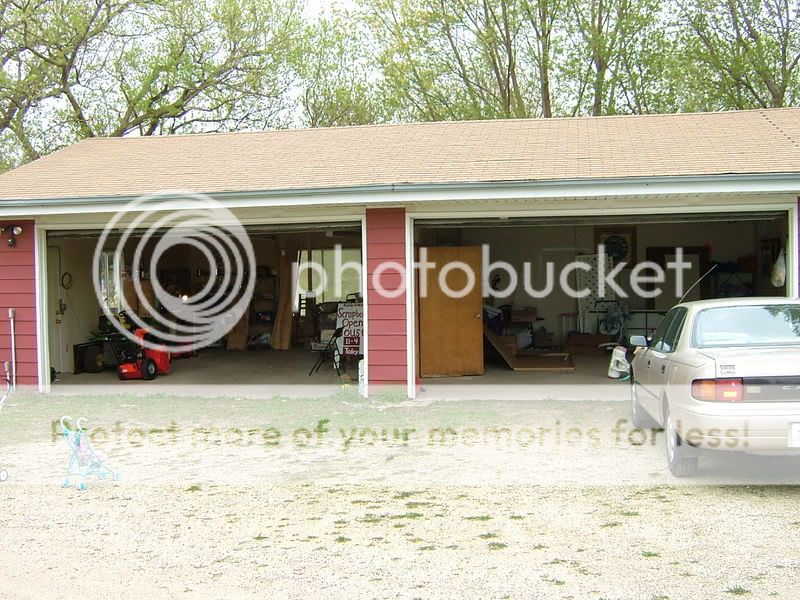
The journey from garage to scrapbook room started the spring of 2005. As I was staring out the window one day my eyes were fixed on the detached garage/workshop that my husband sadly was not using as he was serving in Iraq. As I was thinking about my scrapbook business at the time and what my challenges were at the time. It occurred to me that that space would make a great scrapbooking studio/classroom.

The more I really thought about it I was able to really envision what a great gathering place this would be for my customers and my team.
So, of course I had to talk to my husband about this idea and we could only talk once a week on Sunday, his day off. So, I started planting seeds about this great project idea I had for when he returned. As the weeks went on I was getting even more motivated and excited as my business was growing. He could tell and finally said, well, what are waiting for. Go do it now if you want. So, all you could hear was the sound of my car keys jingling as I was racing out the door to Home Depot. After I said goodbye to my hubby and told him thank you a million times of course.Looking back, I know now, he would have let me do just about anything to keep my sanity at the time. So, if transforming the garage would keep me out of trouble, he was okay with that.

And so the journey from garage to scrapbook studio began. I learned how to tape, mudd and paint.


Taking on a project of this proportion was a great way to keep my mind of the fact that my husband was in a war zone. This was my escape.


I started teaching classes and was thrilled with my home away from home. It was a great place to escape to as adjusting to life with a husband home from war can be difficult. This was my healing place, my creative therapy.
As time went on I needed even more space, no I didn’t take the other garage, although I thought about it. *wink. Instead, we decided to remove the garage door to give me more wall space. Conveniently, a stamping store in town went out of business and I bought a ceramic counter top for $50. It was the perfect size for the NEW WALL!!

The summer of 2007 my wonderful hubby took on this major project, and thus My Creative Cottage was born. He removed the garage door and built a wall with windows. Oh and the summer before we added the concrete pad for parking as well.