


When I first saw the new Zippidee paper from Close to my Heart I knew it was going to be prefect for my Disney vacation photos. I think all of us who have gone and are scrapbookers have probably taken way too many photos and you don’t even know what to do with them. Maybe I can inspire you….
 |
| Disney trip 2004 |
Here I used the Zippidee Workshop Kit which includes a Zippidee Level 2 Paper Pack (12 pattern papers and 10 cardstock sheets) a sheet of Stars Dimensional Elements and an awesome stamp set, Ticket to Ride. All of that for only $29.95. I also added in the Fancy Fuzz and the Holiday Craft Buttons. Just by following the included pattern and instructions I was able to craft this layout.
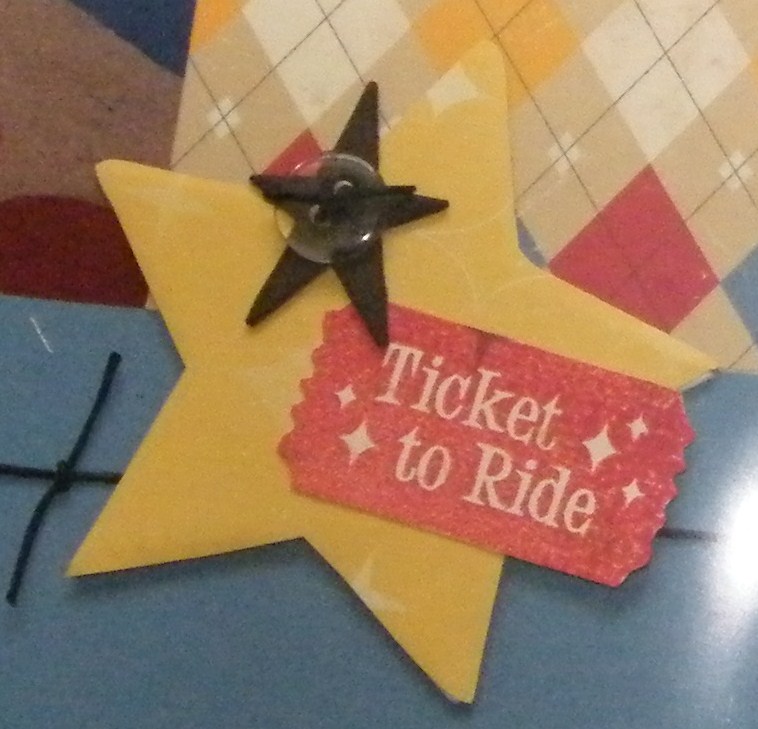 |
| A close up of the Stars Dimensional Elements covered with patterned paper and added embellishemnts. |
I grabbed some of the bonus papers left over. You will be able to complete many projects with these.
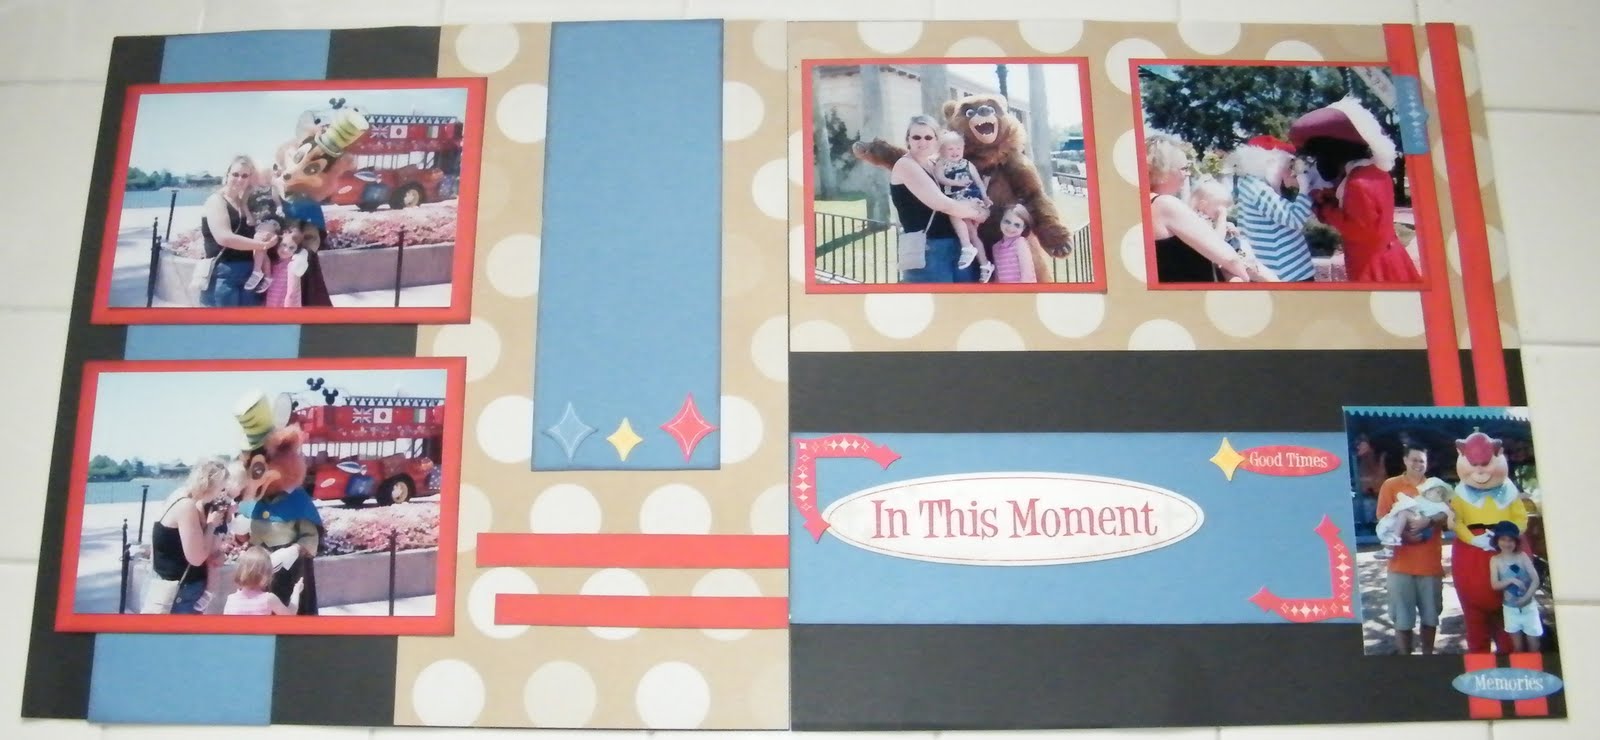
Adding the My Stickease and a simple pattern from our How to Books I made this is minutes. I love that our papers are double sided so I used the monochromatic polka dots instead of the bright and bold as I wanted the colors of the photos to be the accent colors. Didn’t that work perfectly with the colors of the characters?
Did you know that on the back of the My Stickease sheets there are black and white photos of addtional layouts that you can create, again just by following the pattern they used. Did you also know that these same layouts are featured on the http://www.closetomyheart.com/ website Click here to see their variations. Here is one.
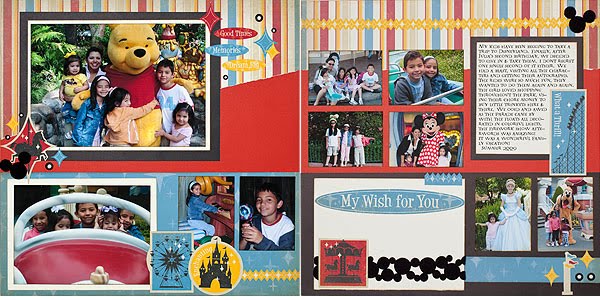 |
| Click for larger view. |
So using the same patterns and most of the same products, here is my version.
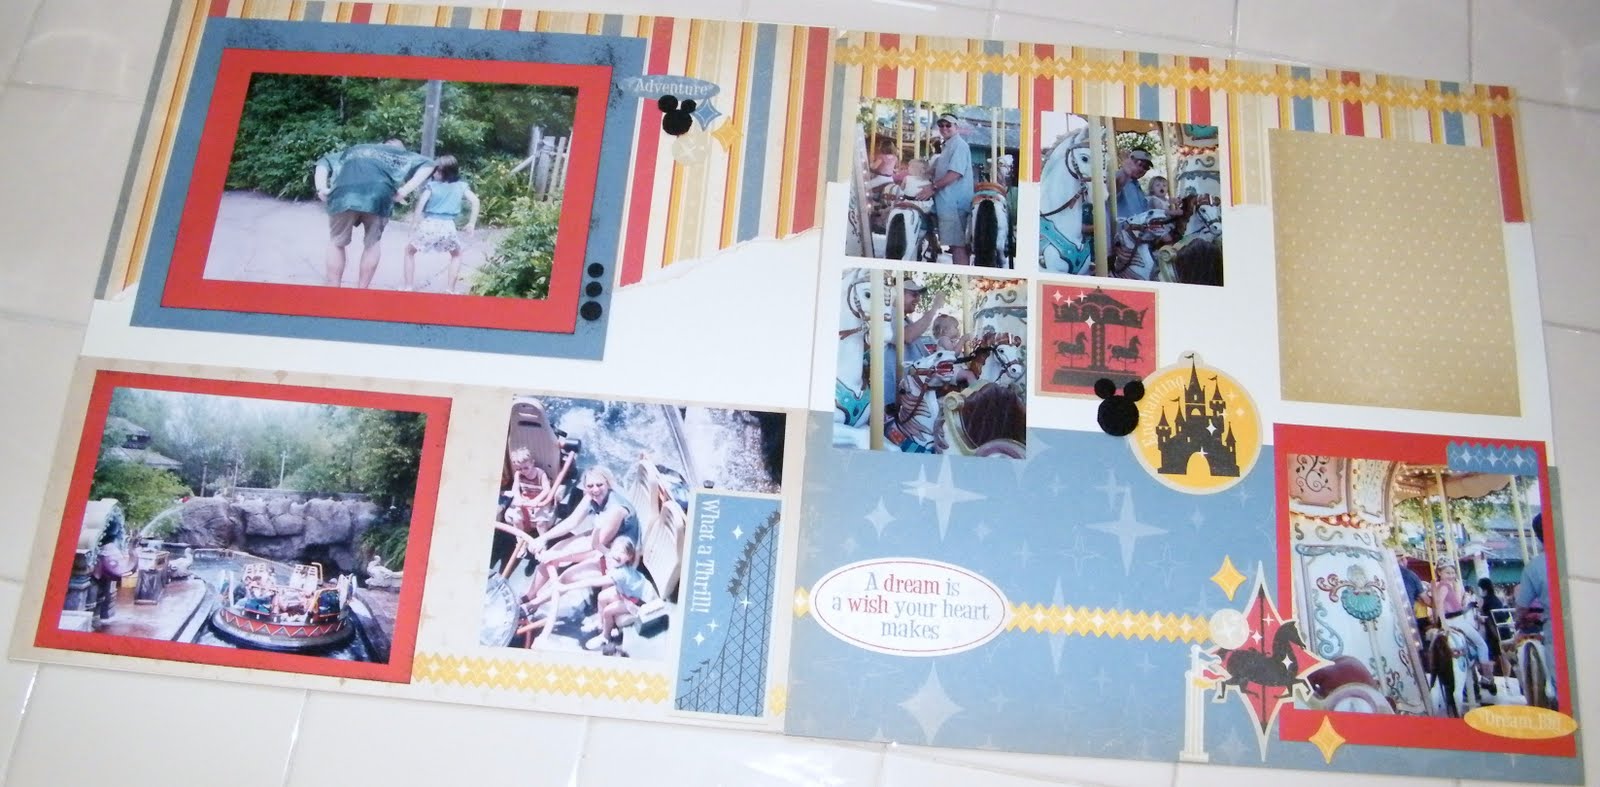 |
| Cick for larger view. |
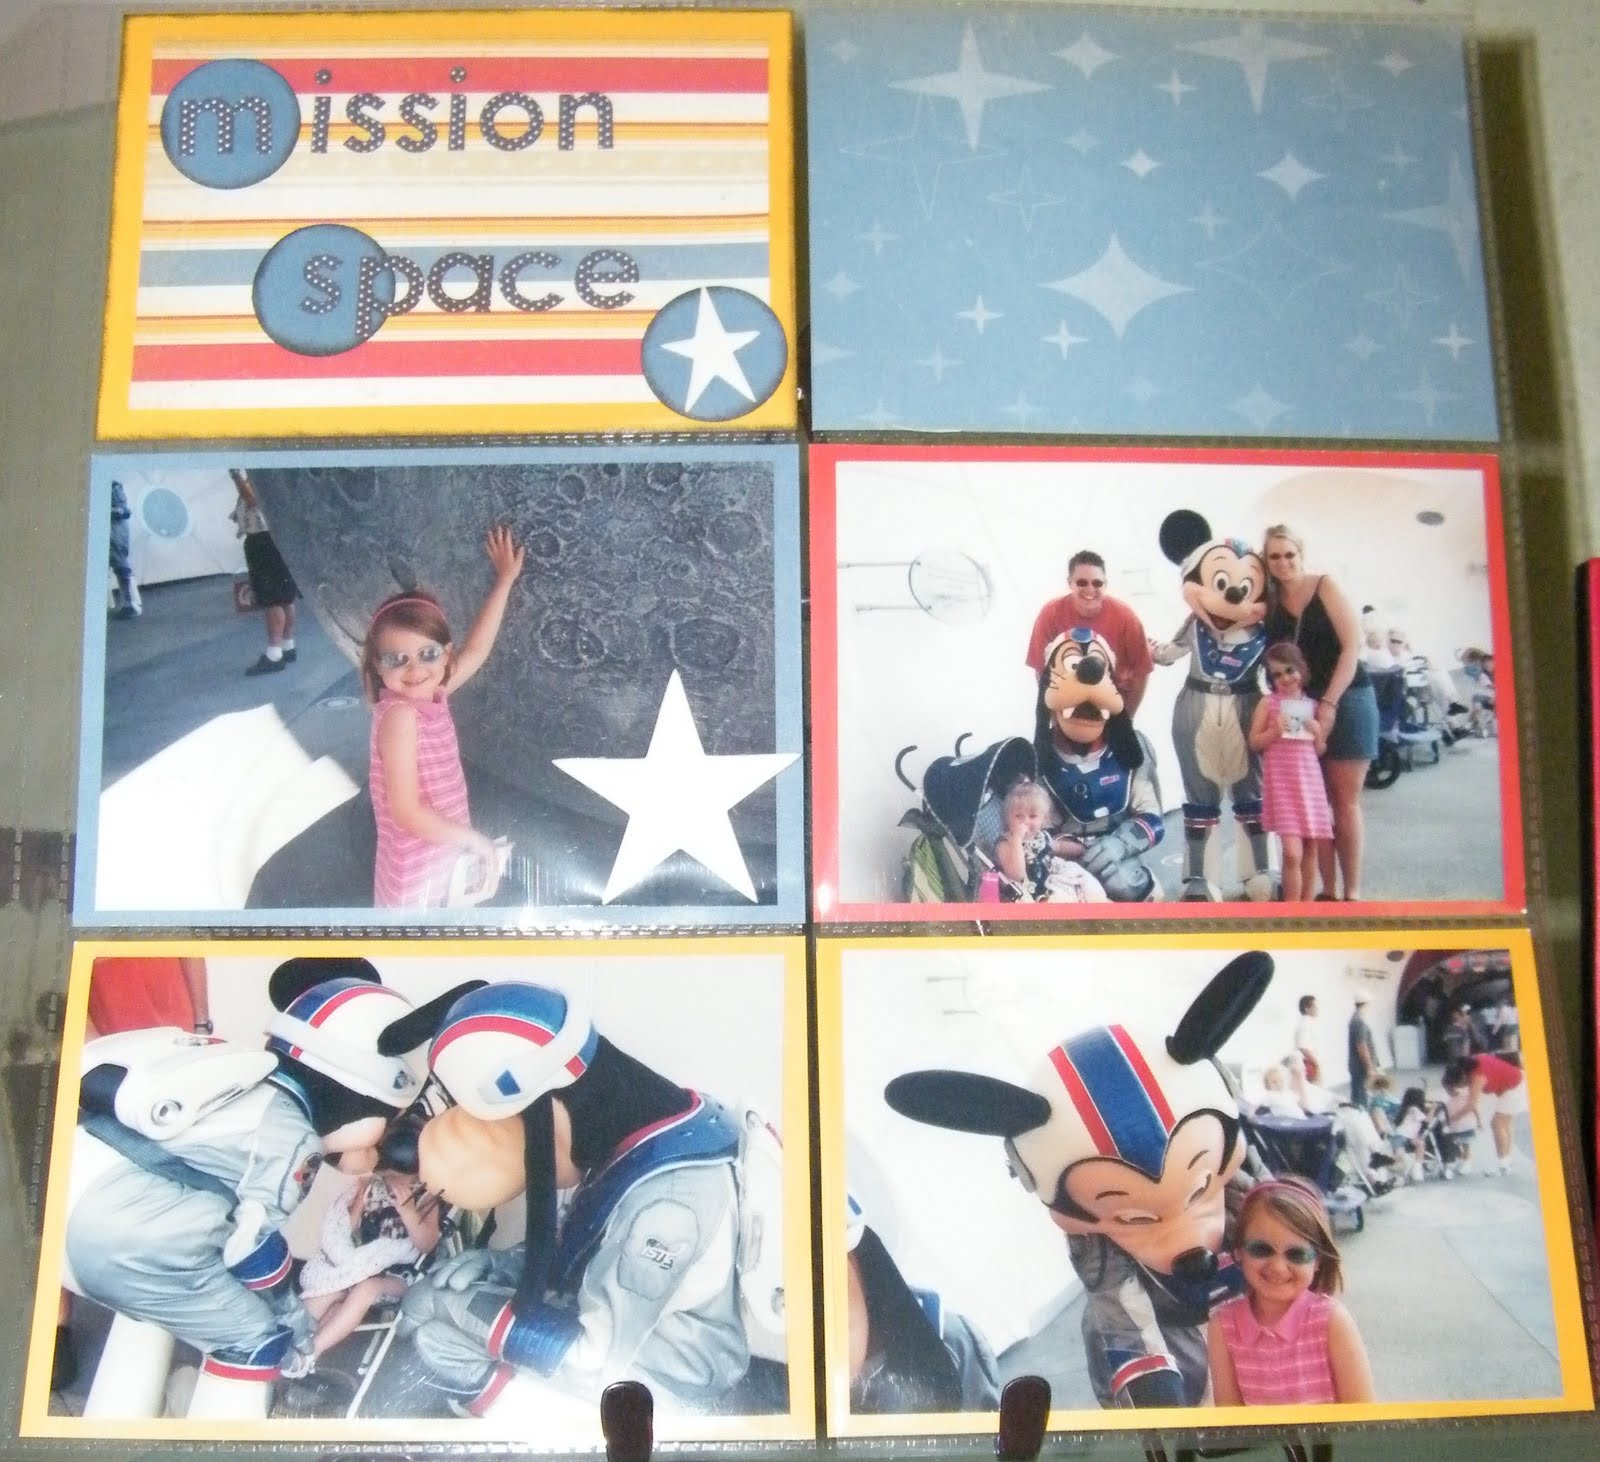
I think the hardest part is highlighting the trip without having a separate layout for each attraction or character. So, in this layout I have Animal Kingdom and Magic Kingdom. It really doesn’t matter. Of course as soon as I get my journaling on there my readers will know as well.
Using these 12×12 Photo Storage Pages can solve that dilemma as well.
It was so easy to put this page together.
All I did was cut down my paper to 4×6 and slice about a 1/4′ off the photo and it was a perfect fit. Then I used my favorite Lots of Dots Alphabet and inked it in black. I added a few dimensional stars, again left over from my Zippidee Workshop on the Go kit to fill in some space. For some added fun I simply punched out circles to highlight a few letters. I left a section blank for journaling as well.
Now when you turn it over, I can easily add photos to the flip side. How easy is that?
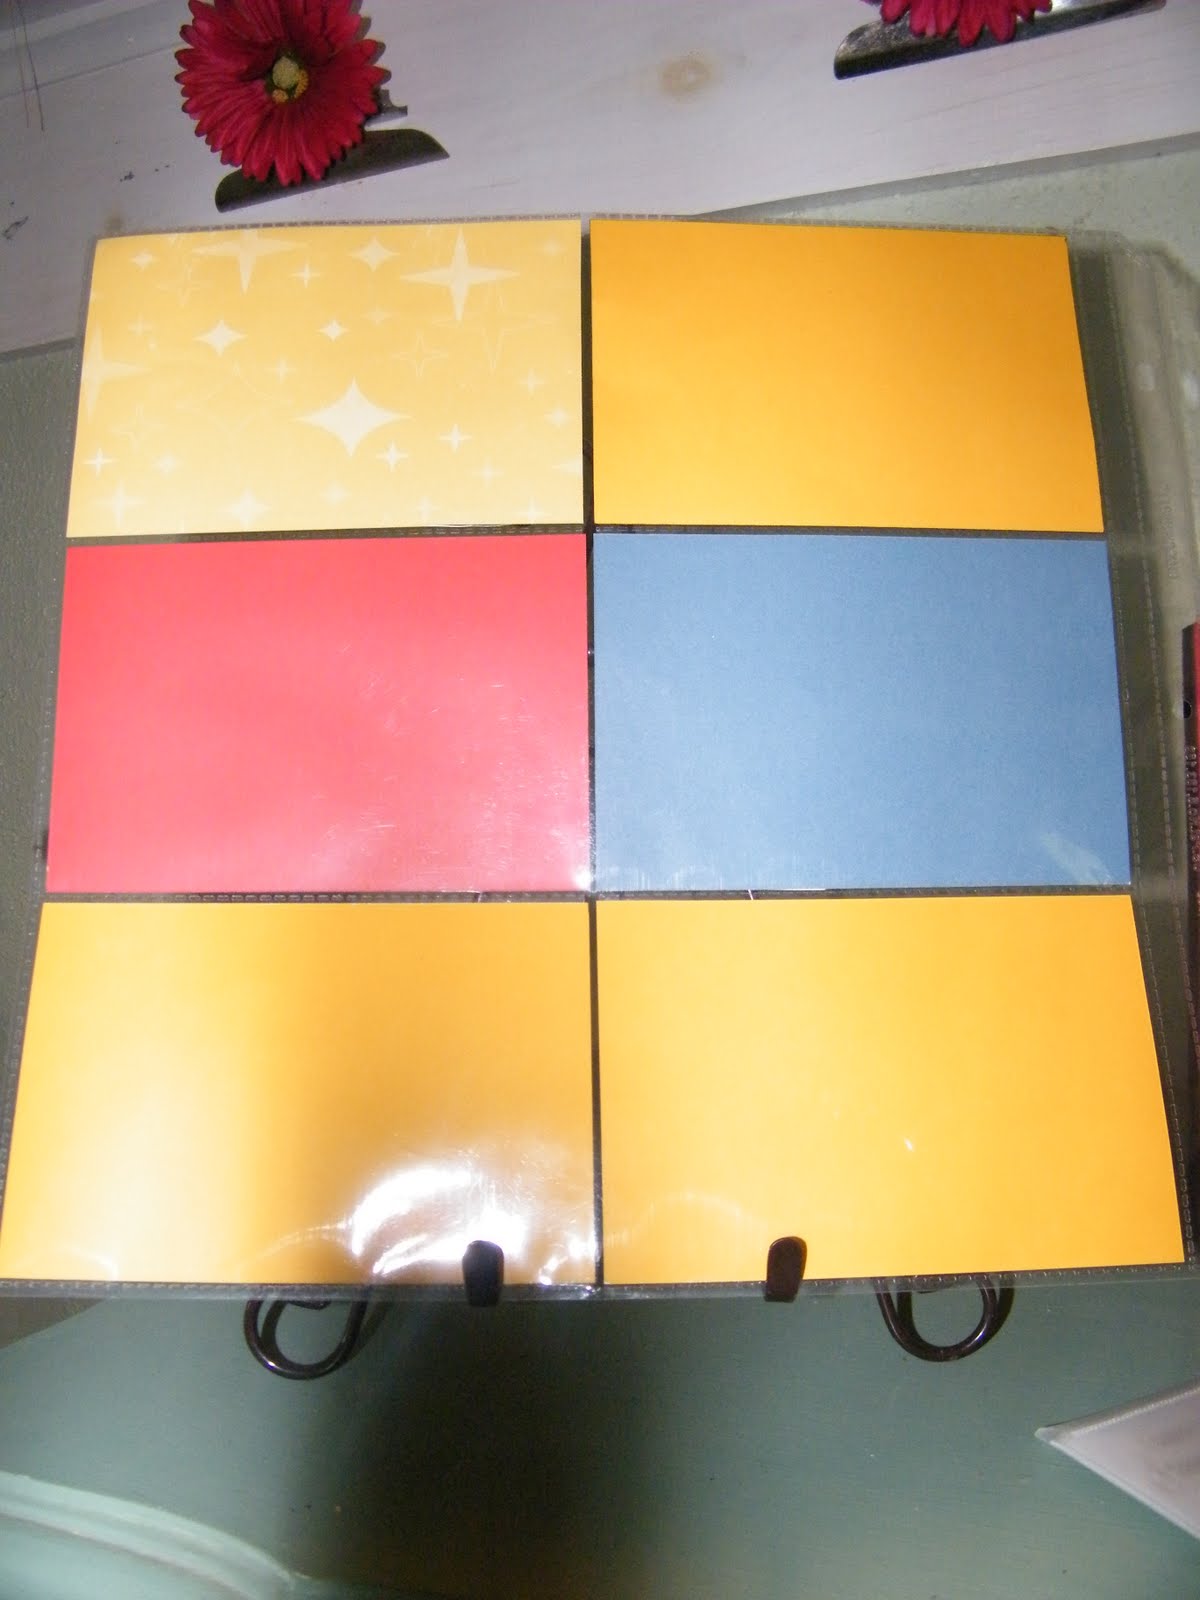
You can also see that by sticking with a color scheme by book will have personality and cohesion no matter what pages I use. Stay tuned for tommorrow when I show you 2 more layouts I did with the SAME workshop kit. If you are looking for value visit my website now and have this kit delivered right to your door. Did I mention the basic kit is only $29.95?
See you tomorrow!
Sarita
