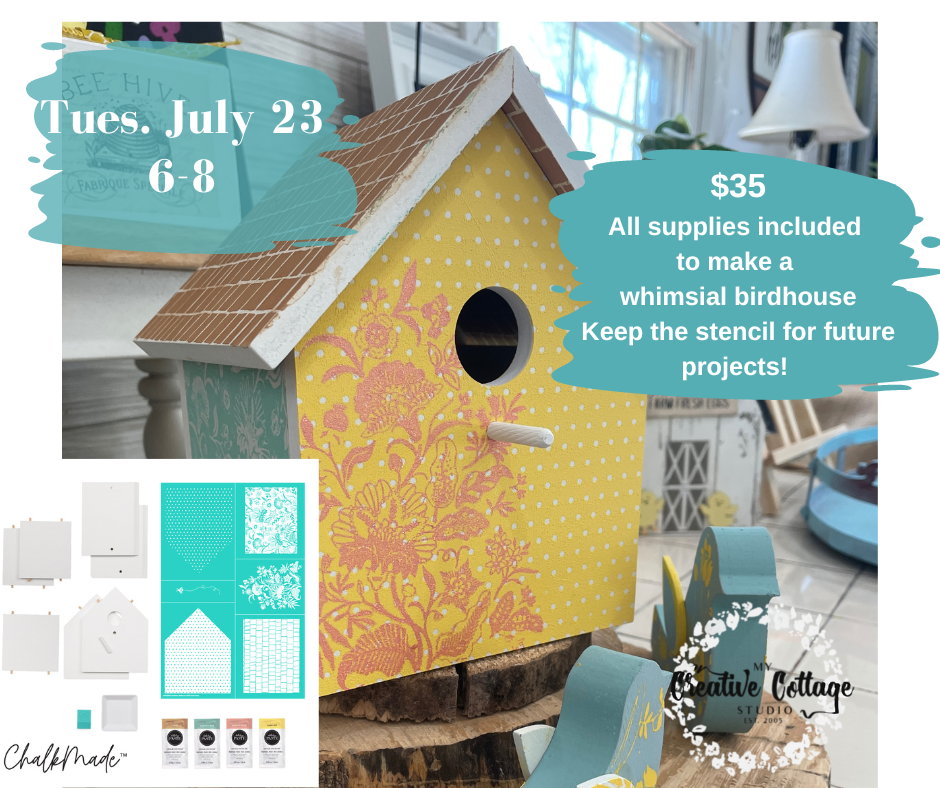
Sign up or this fun and creative class! Take some time for yourself, meet new people and make something cute! Each participant receives a complete kit AND you get a stencil to keep! I will show you all different ways you can use it! Sign up by scanning the QR code or click this link. https://bit.ly/birdhouseclass
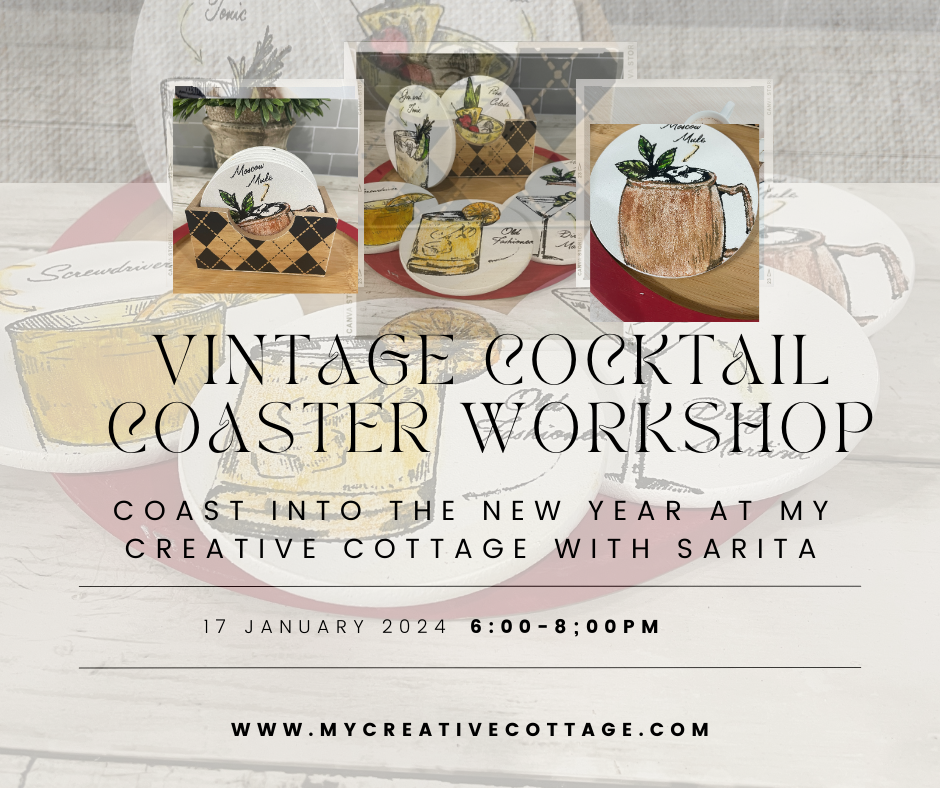
At this workshop you will create a set of 6 vintage cocktail coasters and decorate the coordinating nesting box. We will use chalk pastes and screen print stencils to get that hand drawn look. From there you will learn a watercoloring technique using chalk paste as well. You will love creating on our Couture Boutique surfaces as they are very user friendly. Happy accidents can easily be wiped away.
$25 Class includes all supplies, lots of encouragement, laughter and fun! Grab a friend and sign up today! Space is limited.
We recently installed French pocket doors. I was already in love with them, but then I saw this amazing Chalk Couture stencil. I knew I had to try using it on the doors. I learned a few things along the way and thought I would share with you.
UNSINKABLE COLLECTION-FLORAL SCRIPT/PATTERN
Tip #1. Clean the glass prior to application.
I am an impatient person and I like to just get going. Usually I would forget this important step.
Tip #2 Fuzz your transfer
This means you use a fuzzing cloth as shown or a micro fiber towel to pat the back of your transfer. This keeps it from being too sticky. This is important so your transfer doesn’t stretch when you remove it.
Tip #3. Don’t be afraid to cut your transfer.
It was a bit of a challenge since it is 18″x18″. I first started out using the stencil in it’s entirety, but then I ended up cutting it into pieces to line up with the glass. I will definitely use it again and am not worried about it lining up. If anything, I have even more ideas for using this transfer now.
Tip #4 Chalk paste must be a good consistency.
After that is was fairly simple. The biggest tip I can give you is to make sure your chalk paste is a good consistency, like yogurt. Otherwise it will not push through the screen print and you may miss areas. I had to keep spraying mine with a little water because it would get dry. So give it a good stir.
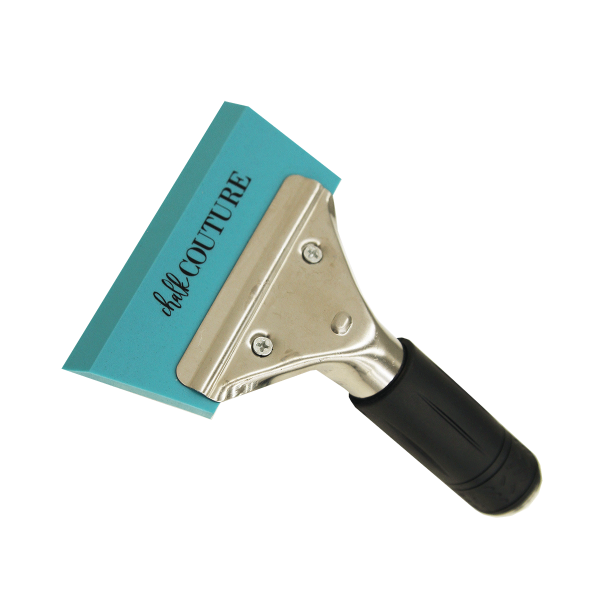
Tip #5 Use the right tools.
I started out using a regular squeegee, but quickly turned to my handled one instead. It covered a larger area in less time and equally distributed the paste.
Tip #6 Let paste dry.
The beauty of using our paste is that it dries quickly. When I needed to pick up the stencil and move I gave it just a few minutes to dry. I was even able to line up the transfer with no smearing.
That’s it. So pick your surface. It could be a window, mirror or a frame. Have fun and be sure to join my free Facebook group for even more tips, specials and incentives. If you are interested in any of the products shown you can find. them at my chalk site.
For a while now I have been looking for a product that would compliment the workshops I have already been offering. When I saw a video of how Chalkology Paste works with silk screen transfers I knew my quest was over.
I have been making my own stencils for classes, customers and personal use for about 5 years now. So I know how much work goes into the process. The weeding alone caused me to have elbow surgery! I am not kidding. It was the repetitive process that was my demise. When I saw the variety I knew I could offer you more and I was sold.
These silk screen transfers offer so much creativity. They are reusable with Chalkology paste. The paste is semi permanent. It goes on wet and dries hard. You don’t have to wait for it to dry. Talk about a time saver!! There are a ton of gorgeous colors to pick from.
Given you can chalk on a variety of surfaces, the possibilities are endless!
glass
mirrors
walls
chalkboards
scrapbook paper
frames
canvas
burlap
metal
tin
windows
wood
and more!
Did I mention we also have ink for permanent projects, like t-shirts, mugs, wine glasses and more. As long as you can heat set it and you can dream it you can do it!
Make your home your happy masterpiece.
I encourage you to see it for yourself and head over to my chalk site.
If you have any questions leave it in the comments and I will respond ASAP.
We had a great weekend and loved meeting so many of you! Here is a photo to give you an idea of some of the fun stuff we had. I am happy to say a lot of what you see here has sold. IF you see something you like, we can definitely make it for you.
Took the picture and realized I have a piece of burlap missing. Worse yet, I can’t remember where I put it. So please ignore the blaring purple and blue bins. Thank you.
The best part was having Savana and her college roommate visit. She told me she couldn’t stay away since she basically grew up in my cottage. That made me smile.
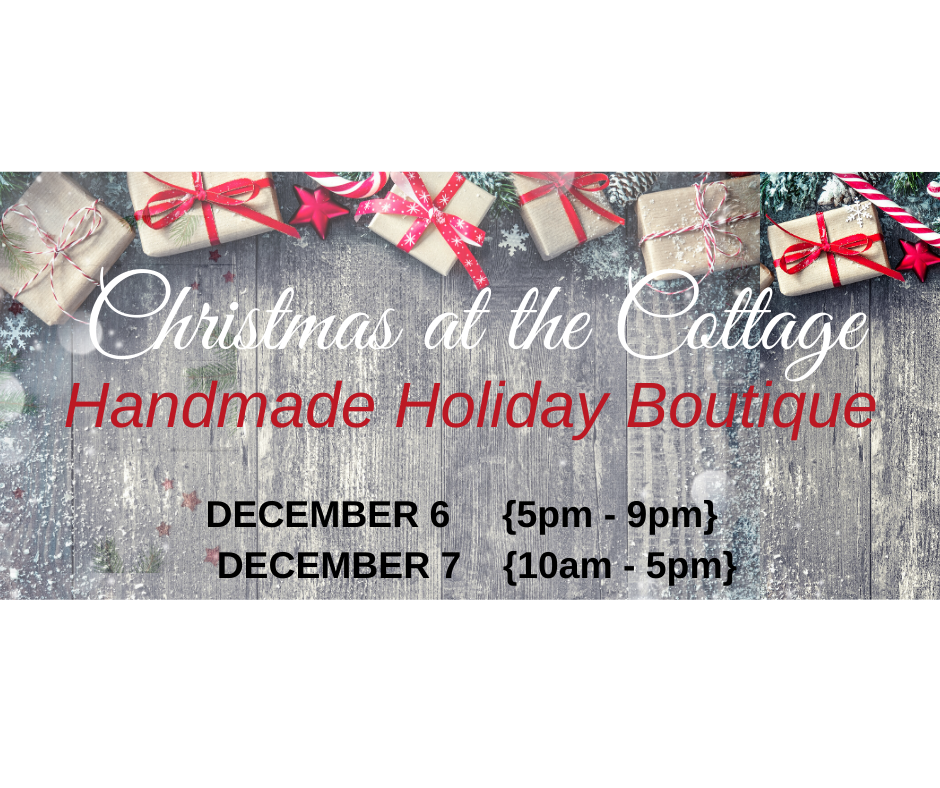
If you are saying, “man, I wish I would of gone to her cottage.” you are in luck! We are doing it again with a bigger selection on Dec 6 and 7th.
For all my local crafters! Do not miss this event. We are located across the street from Trailside Elementary in Waterford, WI.
Last year was rough. I couldn’t have my usual Christmas at the Cottage because I had elbow surgery. At the time I was so bummed and I remember my mom saying just think, next year’s event will be bigger and better than ever. Well, she was right!
This year I have invited 3 of my talented maker friends to join me. We are offering a great variety of gifts and handmade decor from barn wood signs to advent wine calendars. I hope to see you there!
So, here it is! My new project and it comes with a story. Thank you for letting me share with you.
I was sitting in talk therapy, AKA the chair at the hair salon. The conversation turned to school and and my daughter Sofie. Who many of you know has ASD, Autism Spectrum Disorder. At the time she was struggling as I was recovering from elbow surgery. Sofie and I were both frustrated with the lack of my mobility.
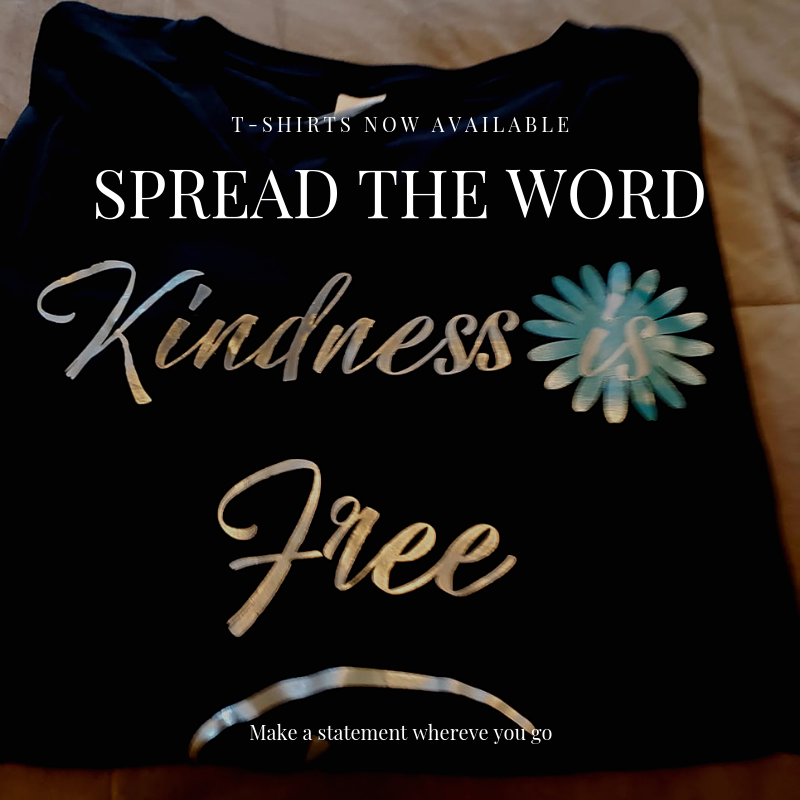
Unfortunately, her frustration was coming out in behaviors that were unusual and uncharacteristic of her. My frustration came out of my mouth. Shear Styles by JoyBell has been doing my hair for years and this is usually where I spill my guts out. I said something to the effect of how I wasn’t asking for anyone at school to give Sofie special treatment or go out of their way for her. I was asking for some kindness. After all, kindness is free. I stopped in mid sentence and declared that I was going to make a t-shirt with that on it. We agreed it was an important message. Joy, my beloved hair stylist said she would buy one and so did her coworker next to her. Now I was in trouble.. I had to actually do it. Creating is usually cathartic for me and this project was extra special. As it turned out they loved their shirts and encouraged me to share it with you. You can order your shirt in my shop by clicking here. https://mycreativecottage.com/myshop/kindness-is-free-t-shirt/
“No matter our background, economic status or level of education we can all agree that Kindness is Free. It doesn’t cost us a thing to smile or offer a kind word. Yet, that very gesture can brighten one’s day or even change their lives. Let’s not keep it to ourselves.”
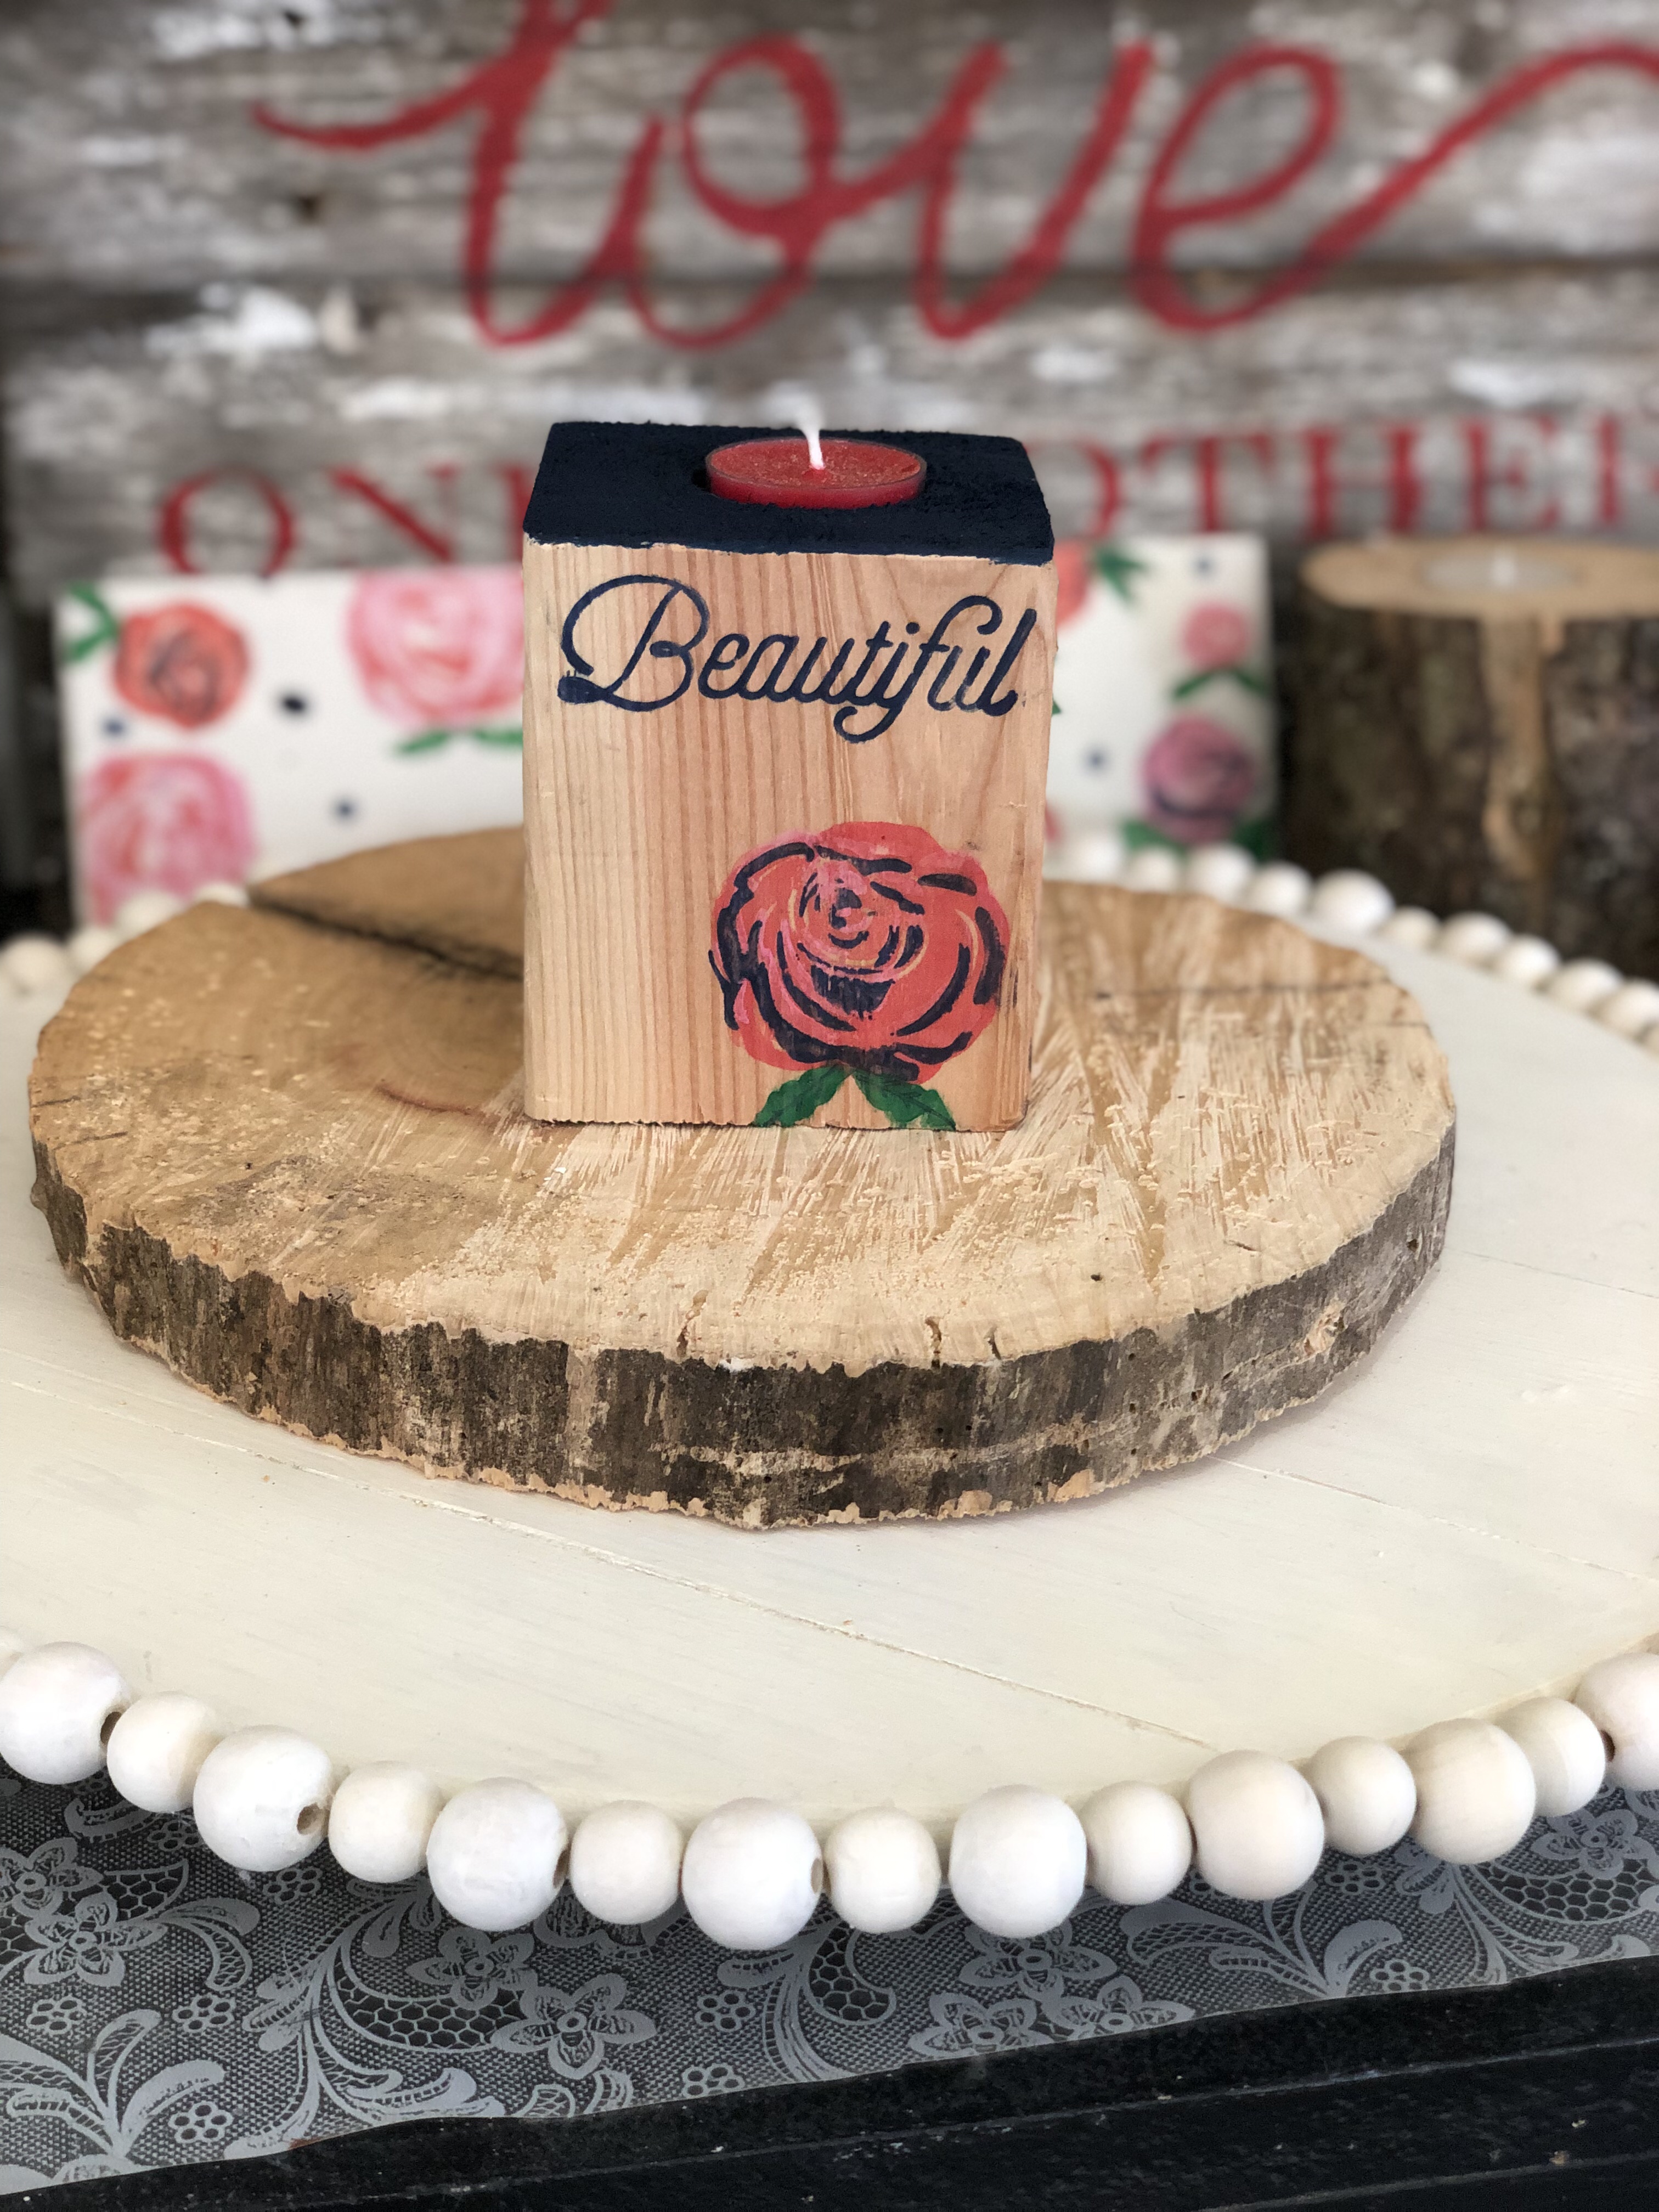
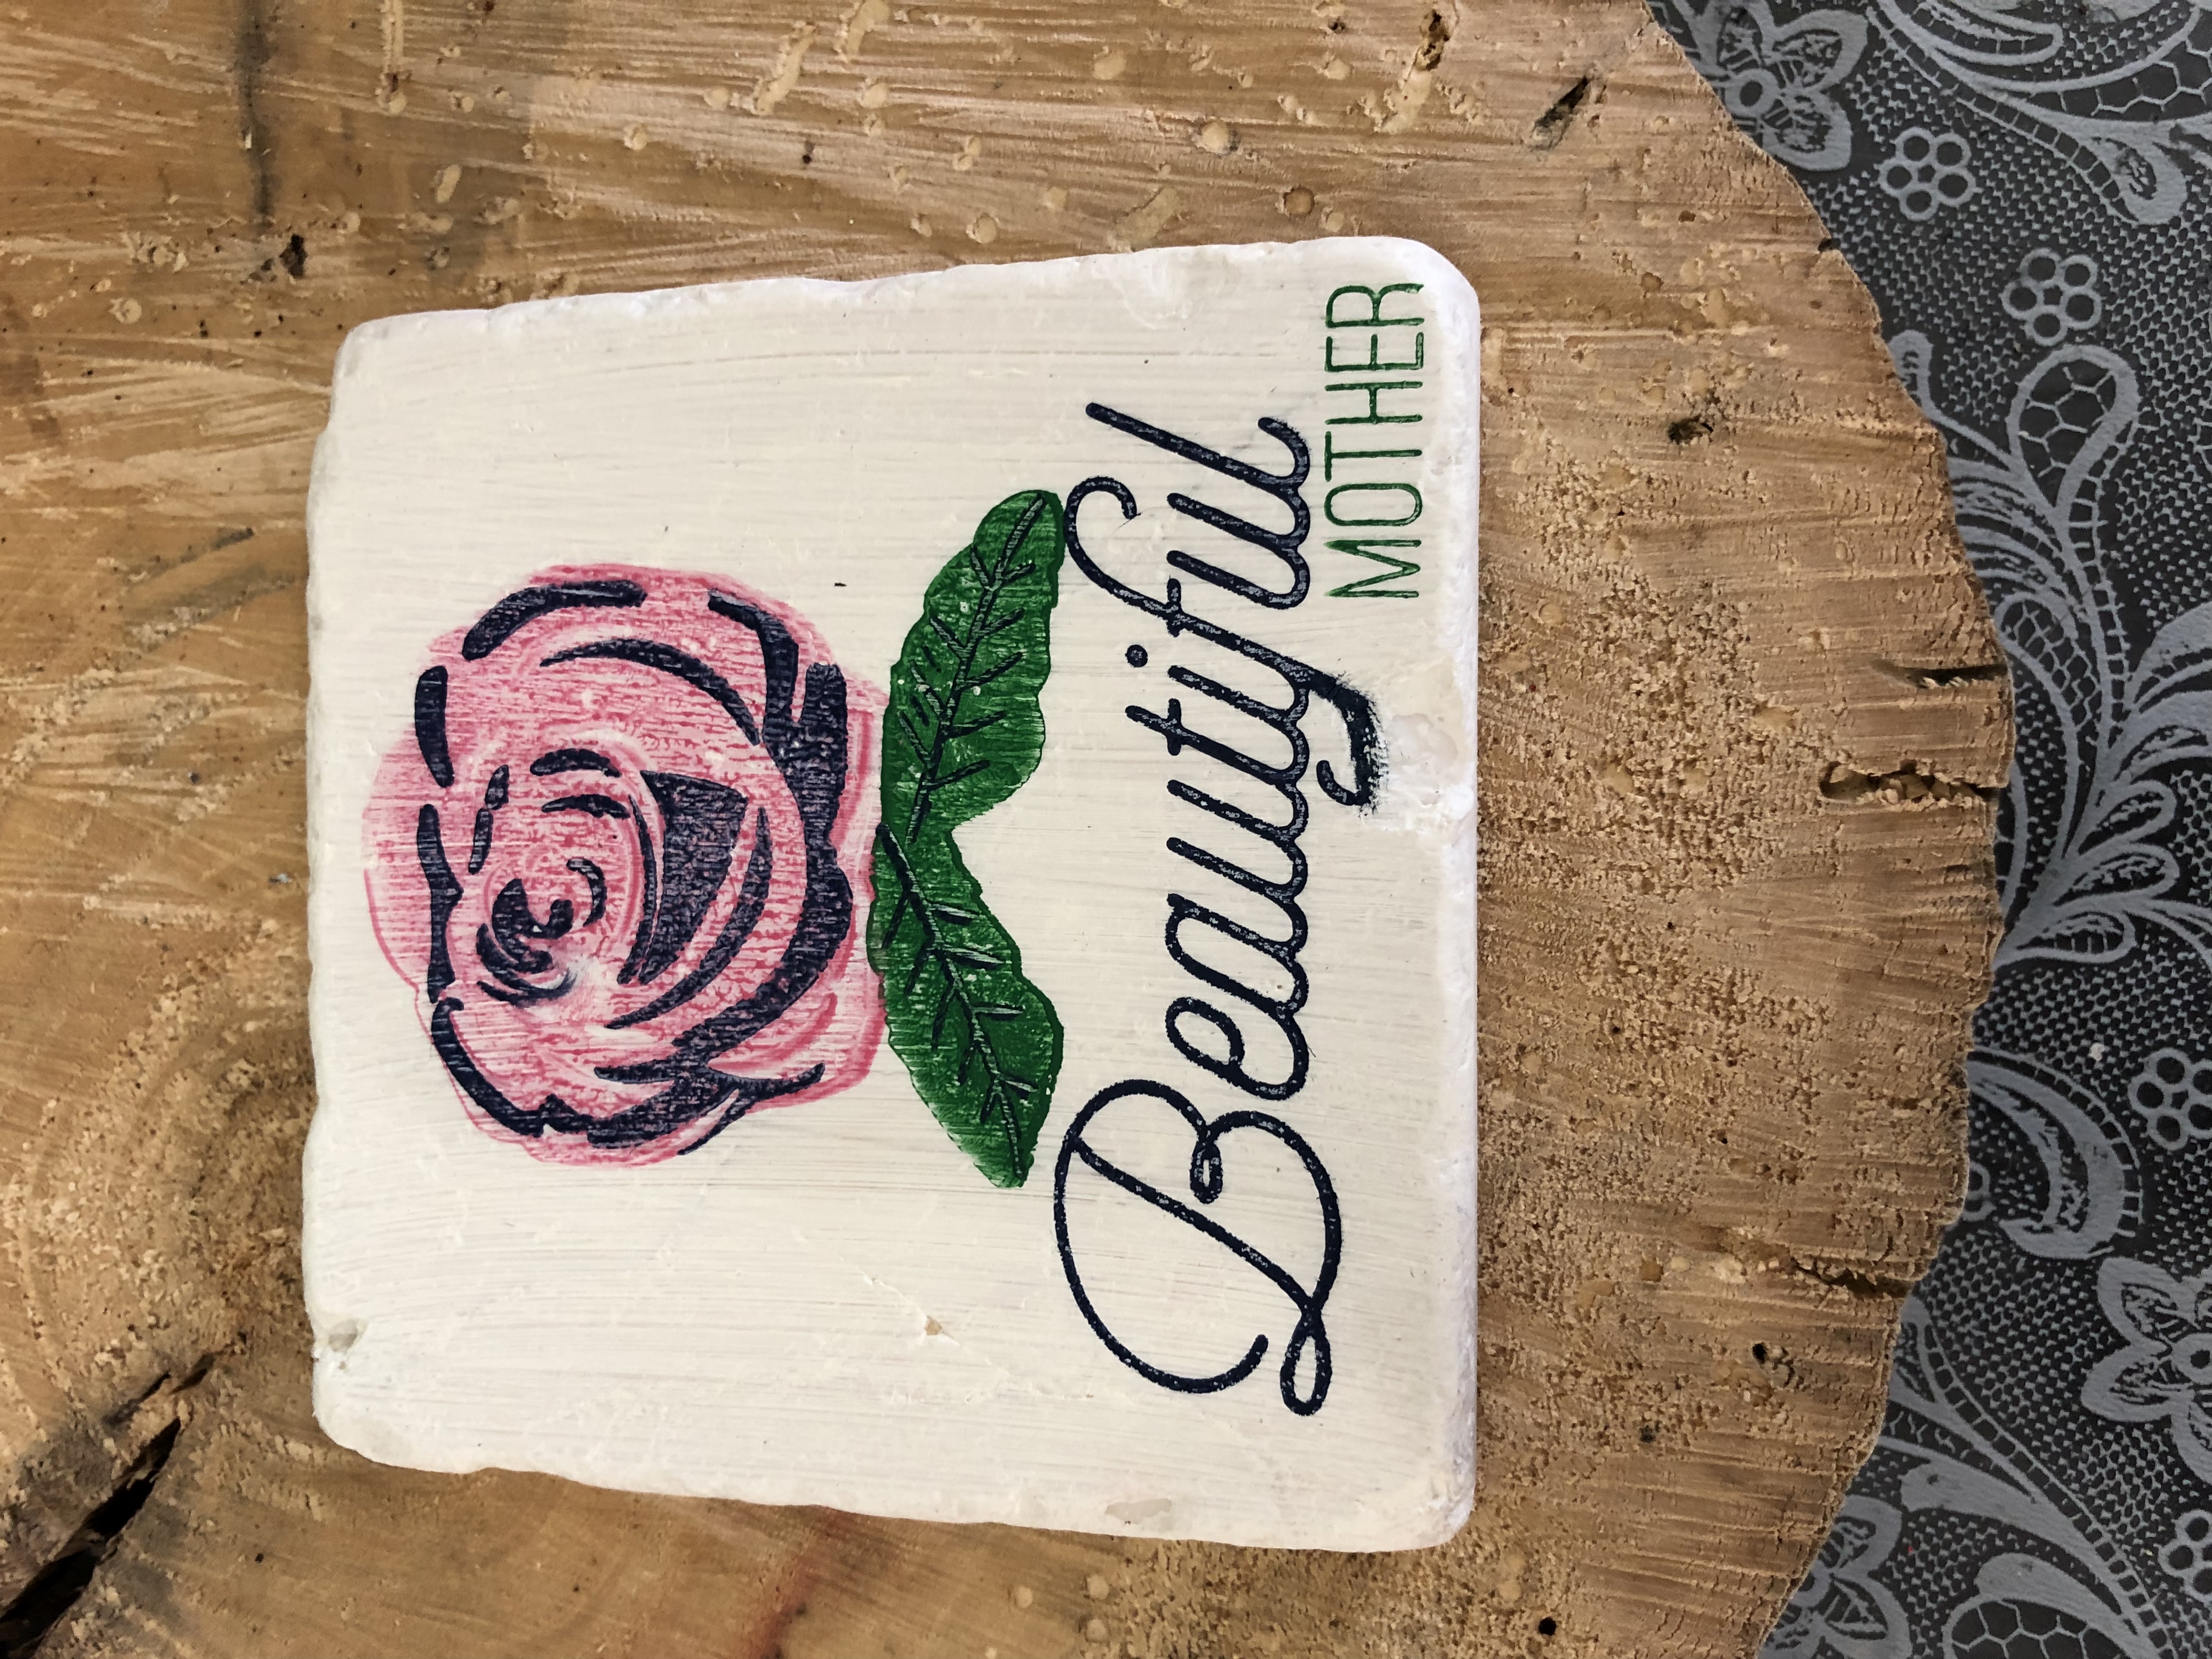
It never ceases to amaze me what you can do with stamps. I wanted to play with our new pigment inks and chose Beautiful You which is on clearance right now for less than 10.00.
I wanted to try this out on wood. So I grabbed a wooden block candleholder and used Sapphire, Candy Apple and Clover inks.
Now this is the best part of using an acrylic stamp because can bend it and wrap it around the wood. Instead of using an acrylic block like I usually would I simply placed the stamp on a piece of transparency.
The best feature of this stamp set is it is two steps. So you stamp the background flower then you can add the details. Here I used the Pixie pigment ink and then the second step I used the Sapphire ink. You can see the same thing on the clover green leaves. Those added details make all the difference in adding depth and texture.
Any acrylic stamp would work. The bigger the shape the easier it is to bend around the wood. Just imagine the possibilities!
If you are interested in any of these products you can find them on my site, www.saritacreates.ctmh.com
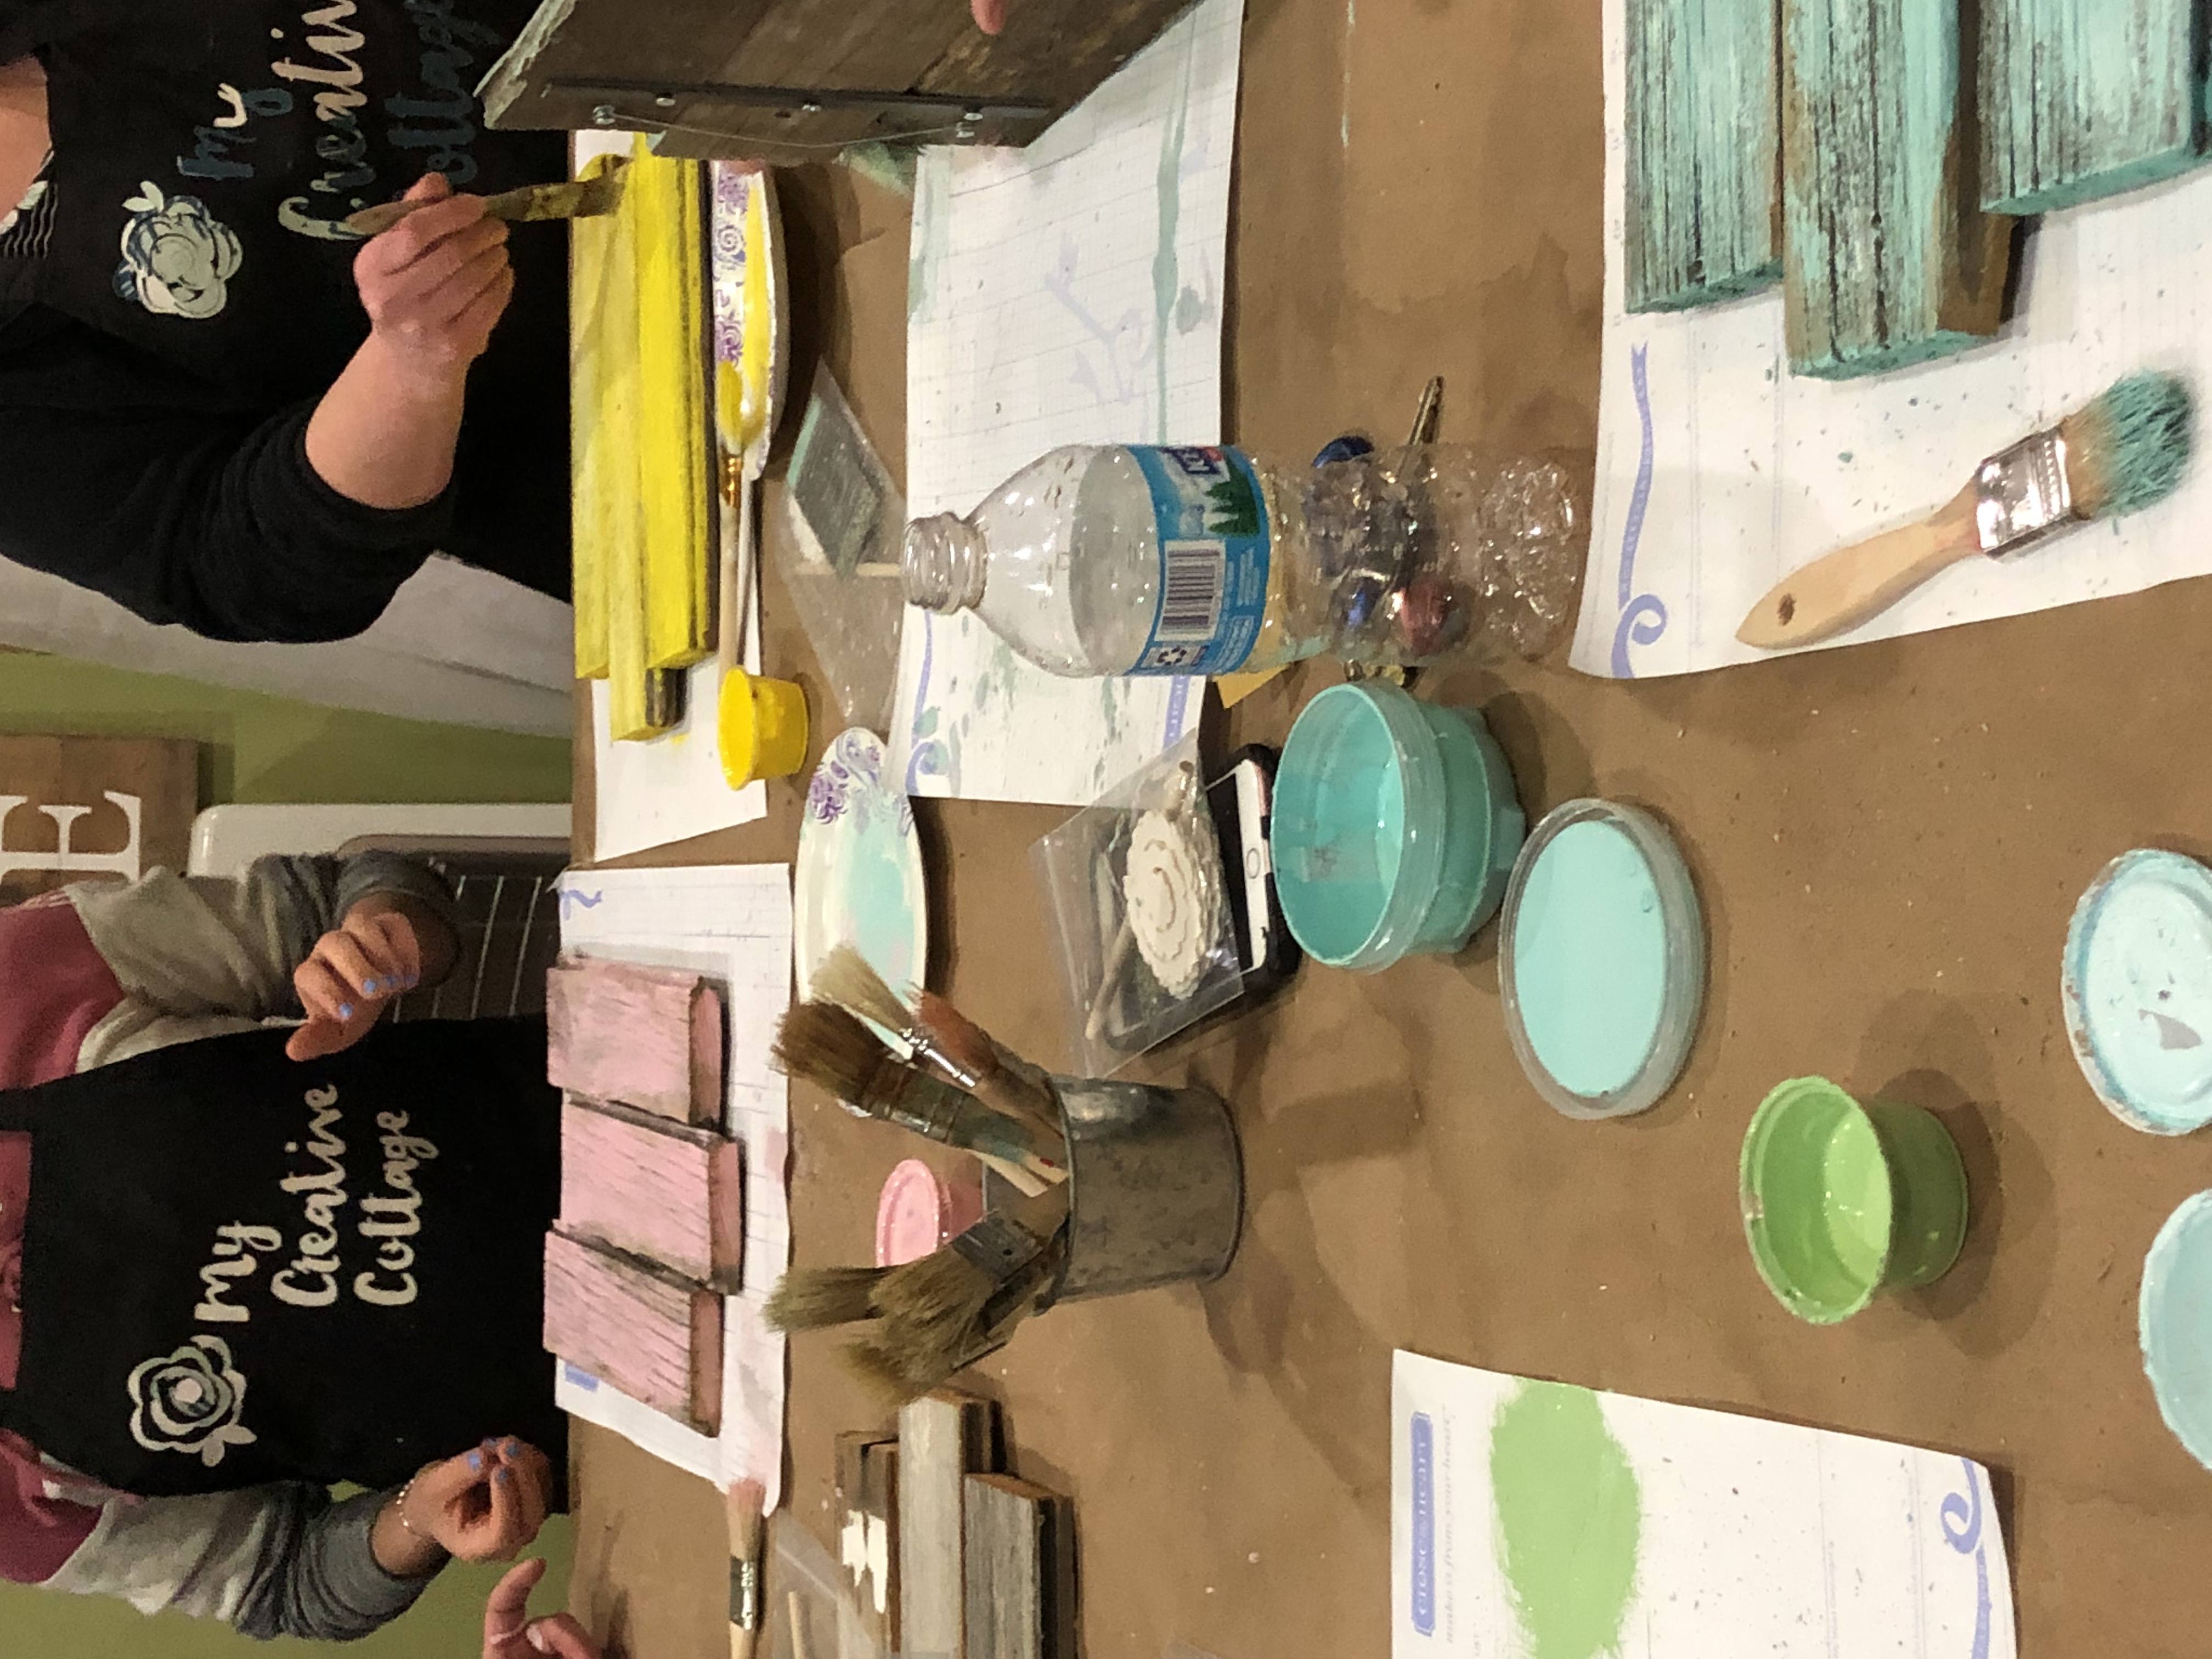
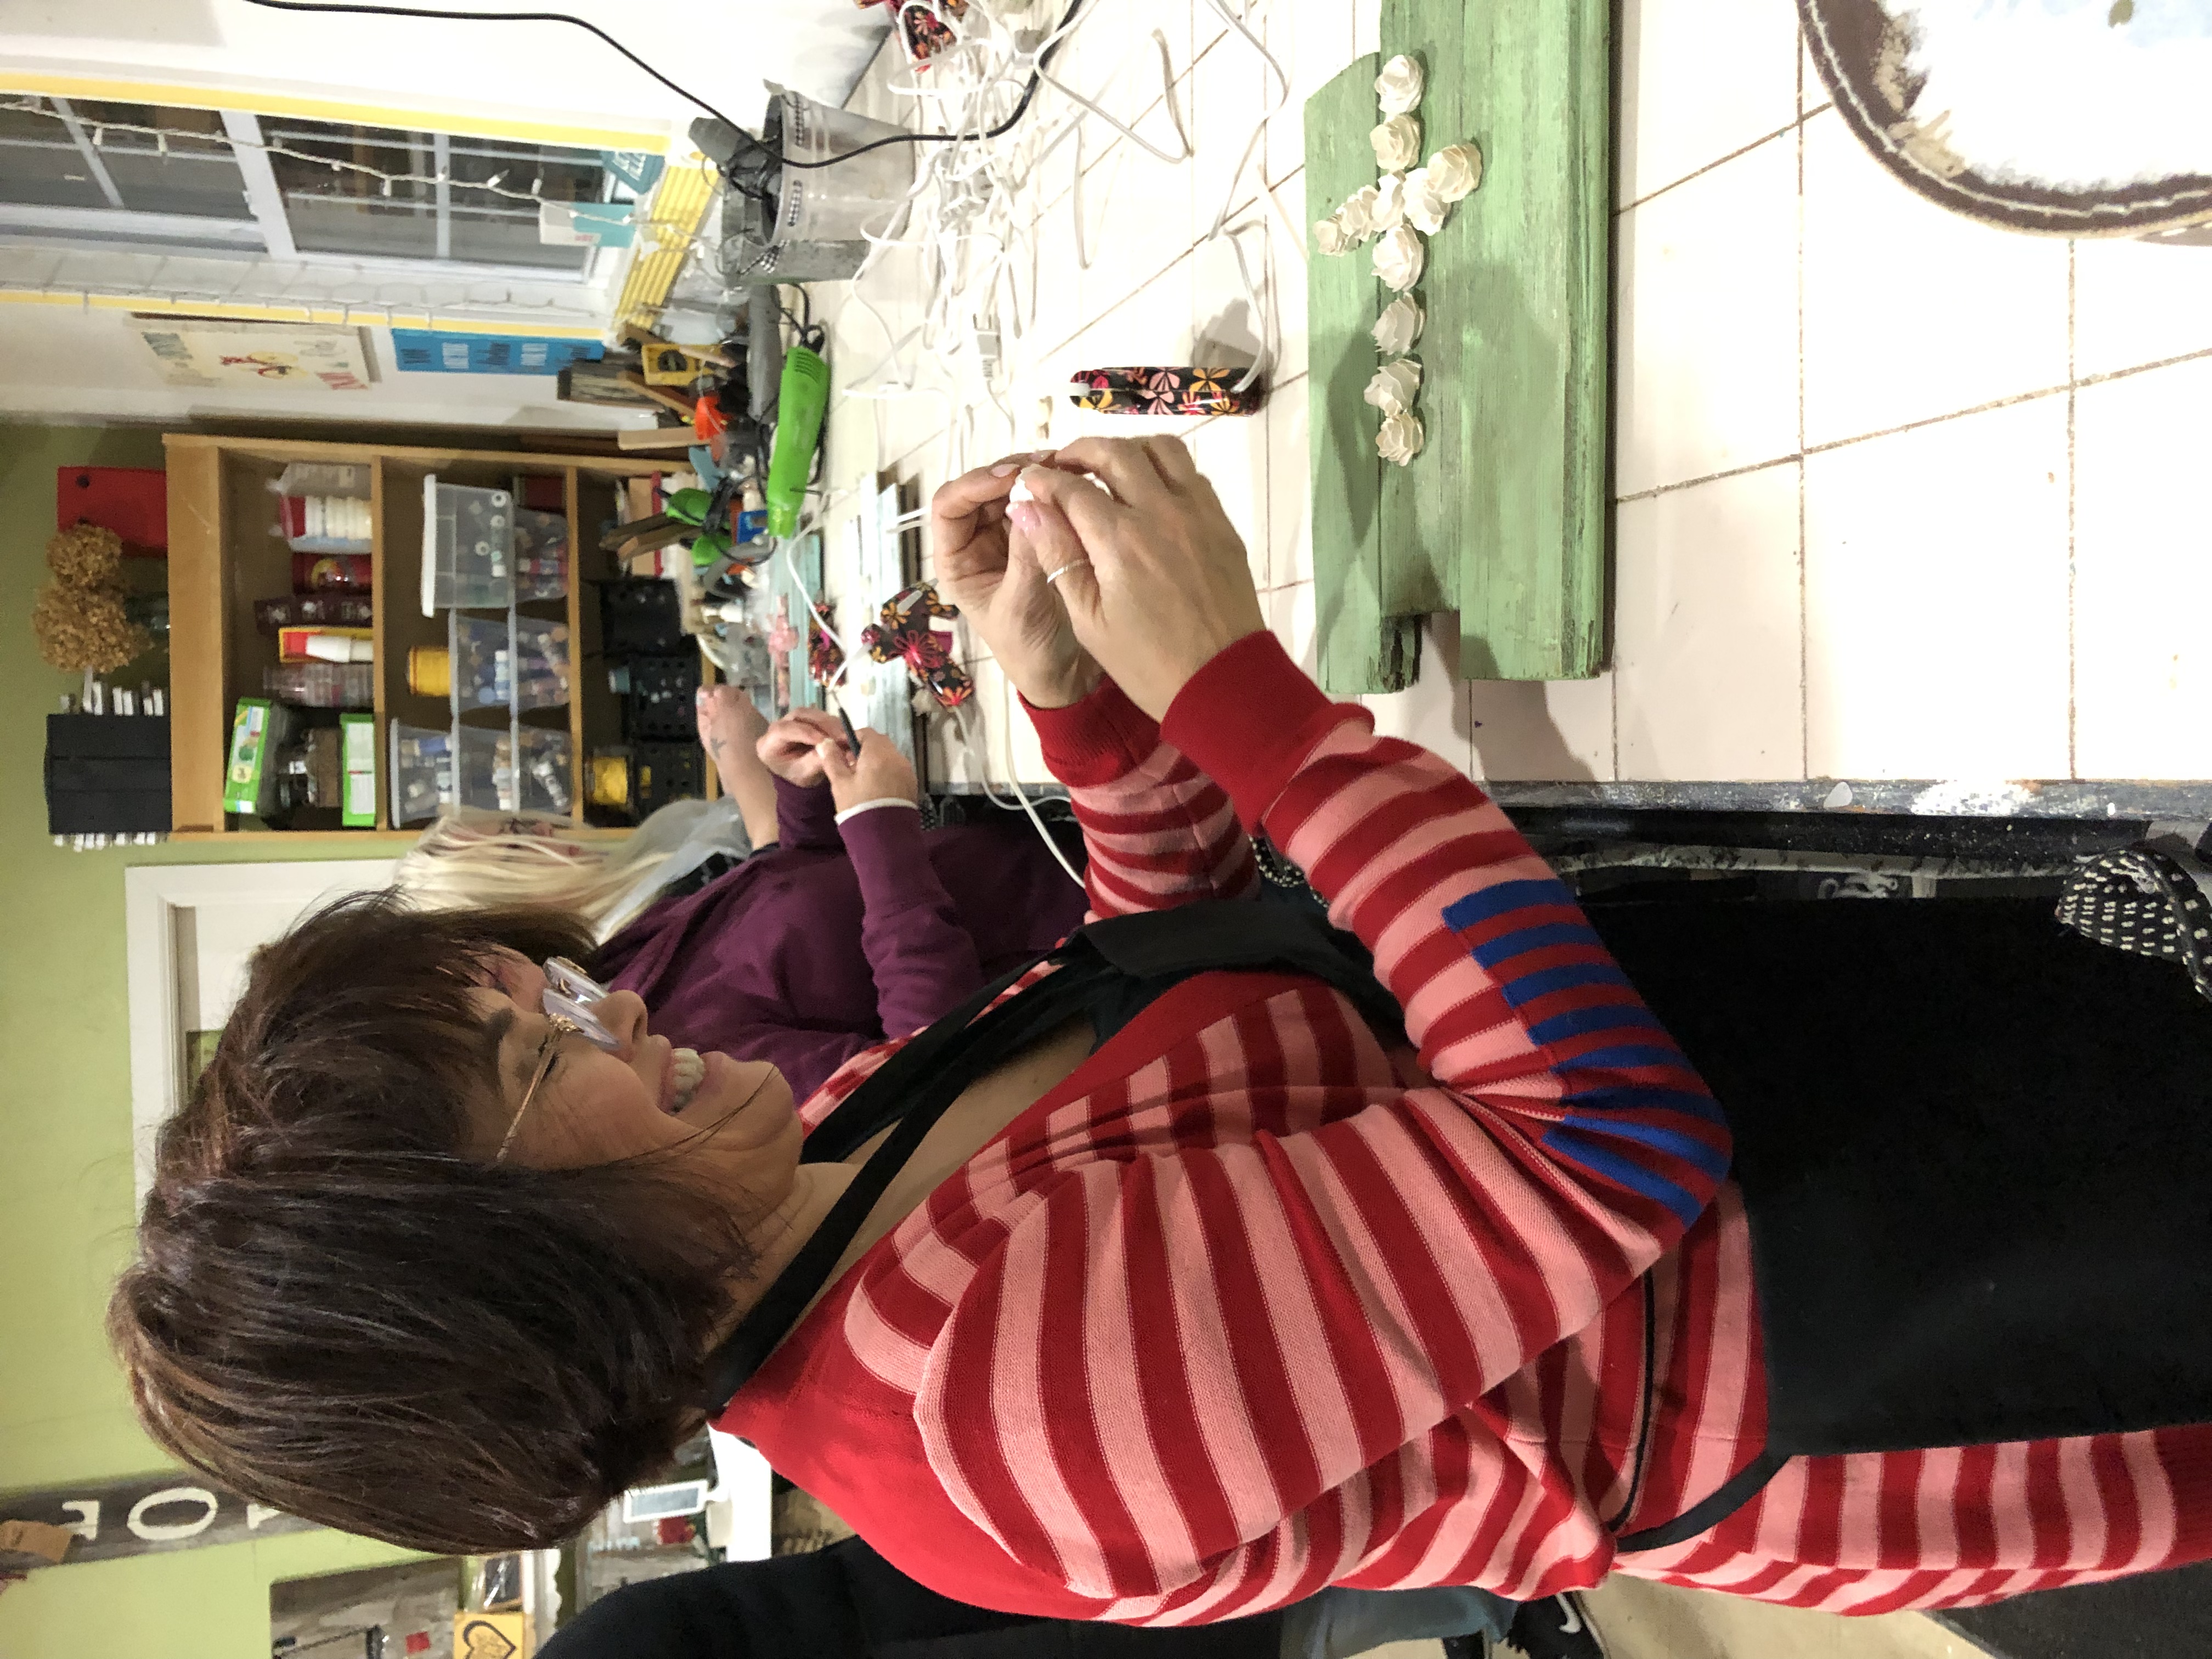
I shut the door behind me and a feeling of pure joy and happiness came over me and I had tears in my eyes. I was overwhelmed by the response to my Barn Wood Paper Flower Class. 8 people attended to make a beautiful cross. I only personally knew 1 of them, my friend Joanne. I think that was the part that made me so happy. These people took a chance on me when there are places all over offering various crafting classes. It left me feeling so grateful.
This was my first class back since my elbow surgery in October. It was fantastic. Everyone was engaged and happy to be doing something so fun. Yes! I even had a young man attend.
First step was the apply paint with a dry brush. If a washed look was desired we just added water to the brush and go over the acrylic paint.
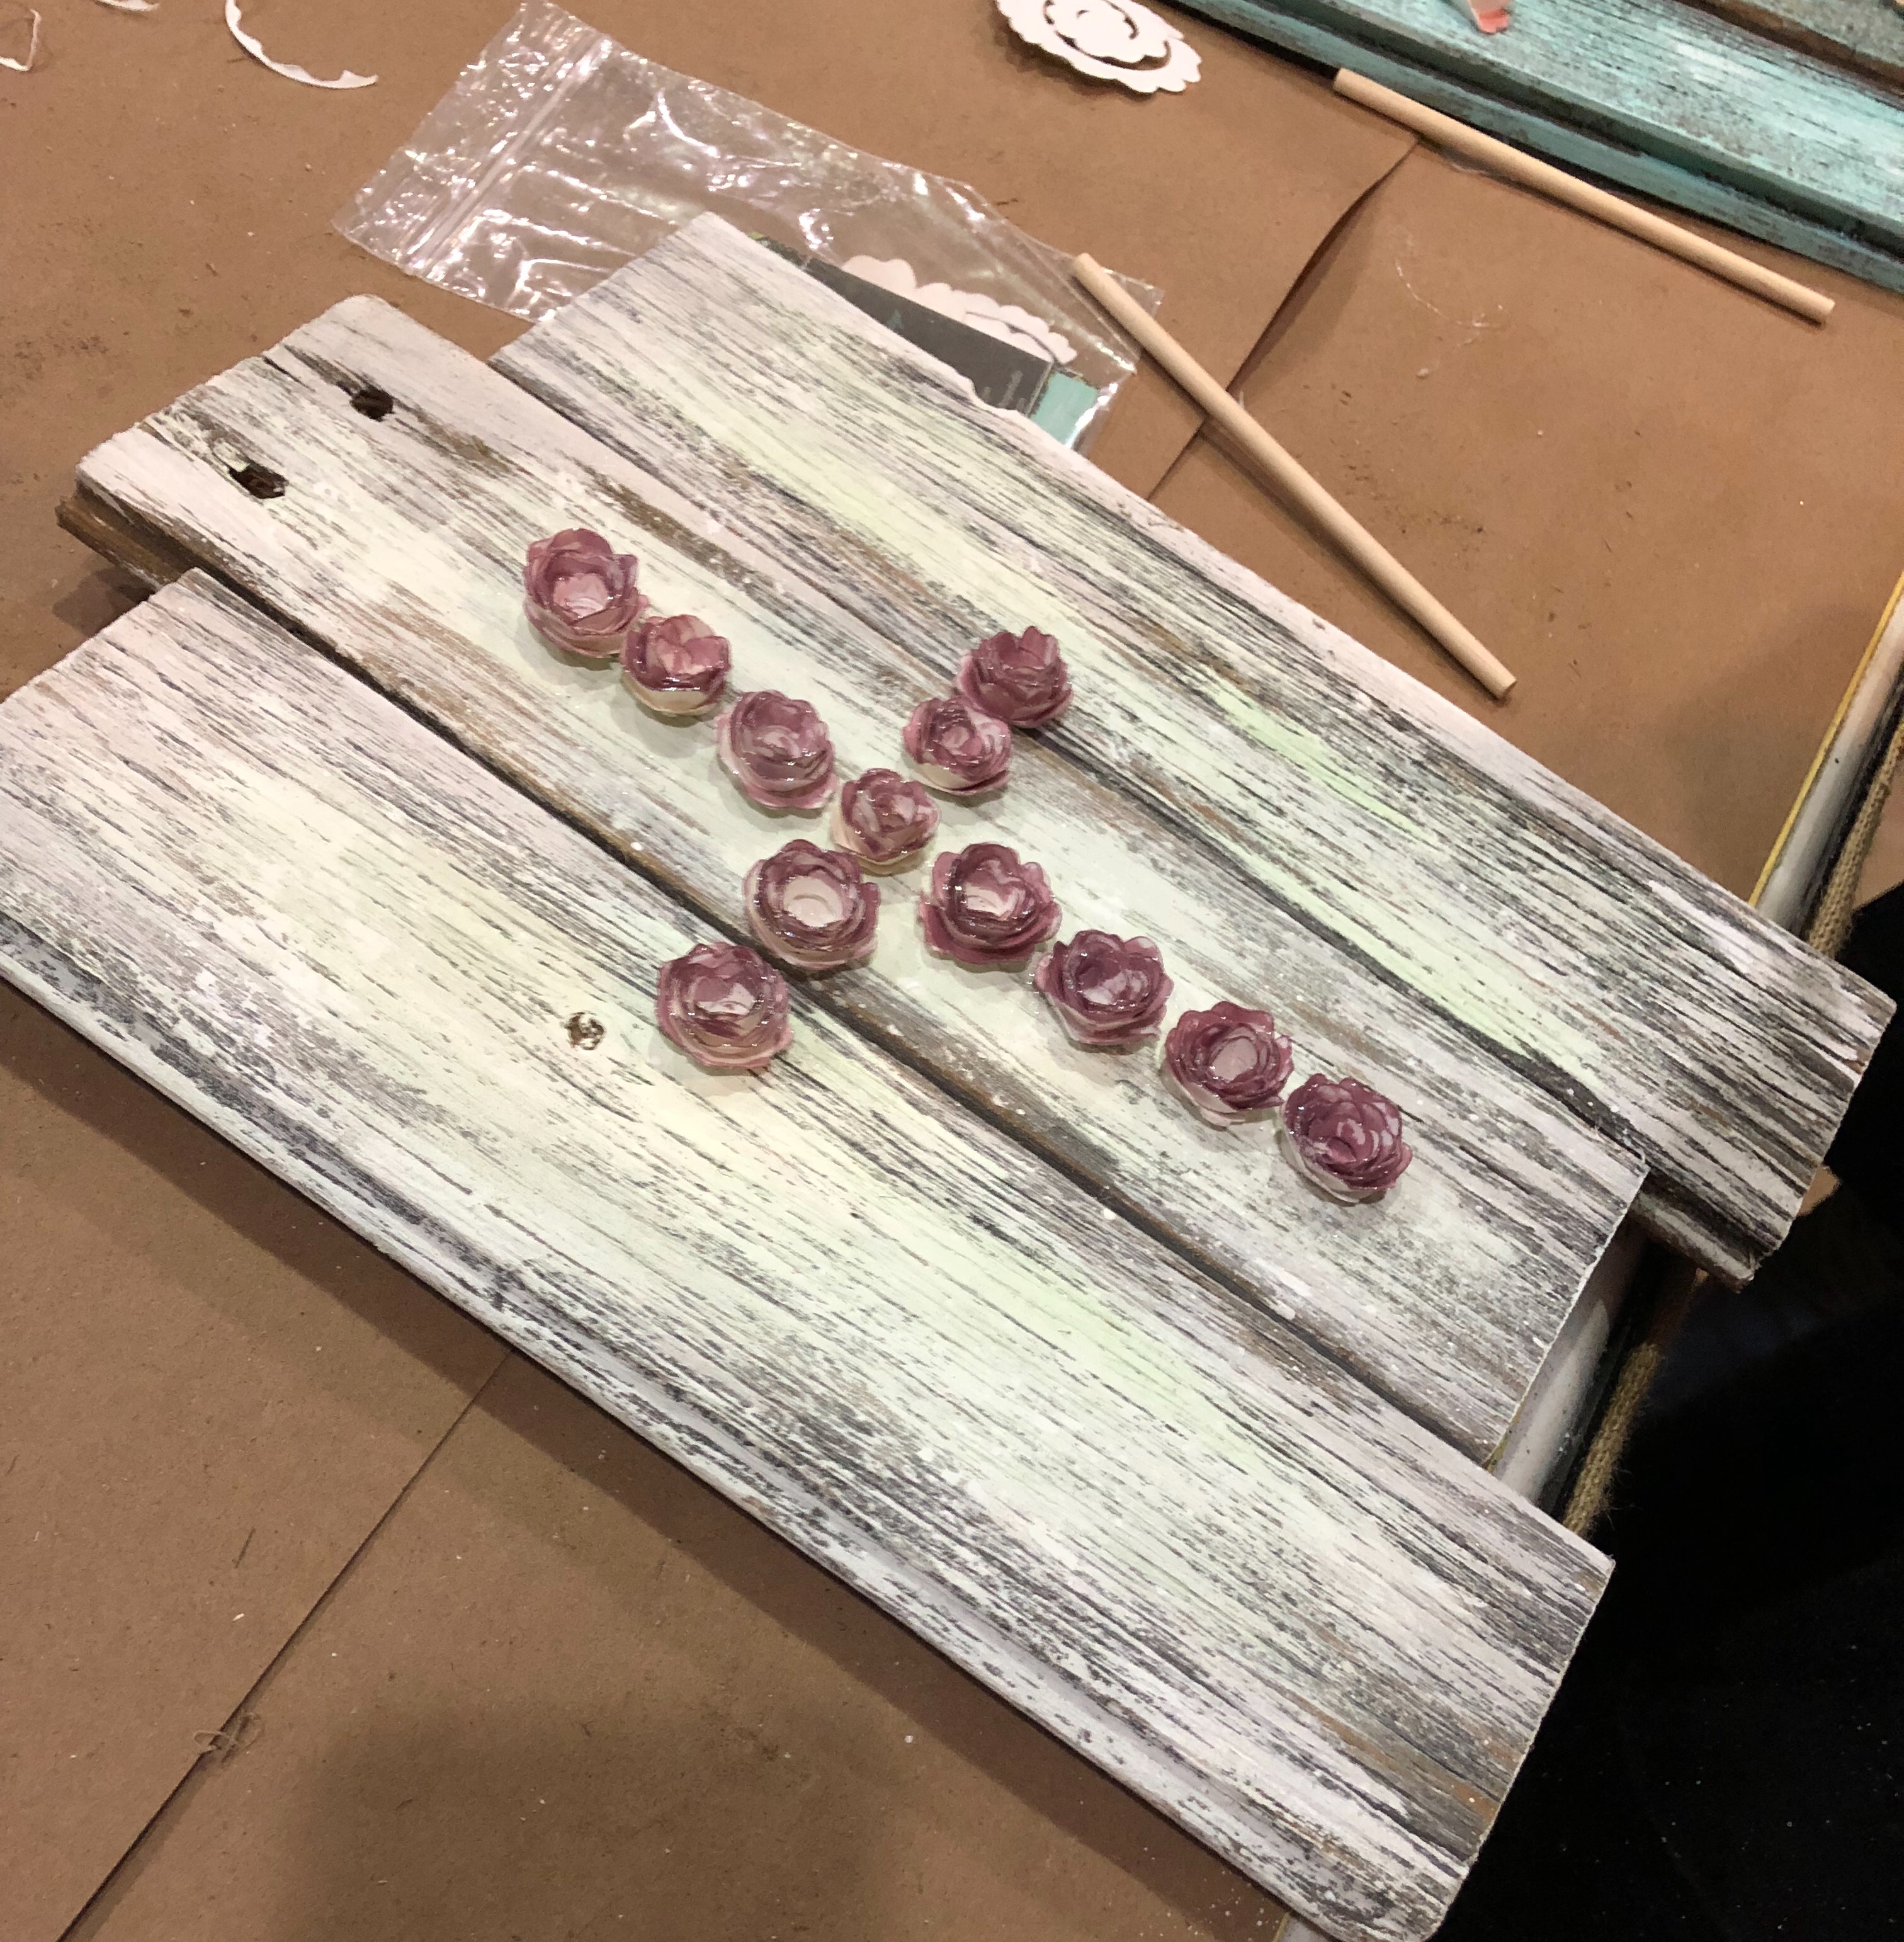
Barn wood is extremely porous so the bases took very little time to dry. While they were drying it was time to roll the flowers. I used my Cricut to cut the flowers and each person received a small dowel to roll them with.
The quickest and easiest way to hold your flowers together is with a hot glue gun. Each flower was glued at the base and then adhered to the barn wood with the hot glue gun.
The finishing touch was using the Shimmer Brush to make the flowers sparkle and shine. This color is Sugar Plum which is our color for 2019.
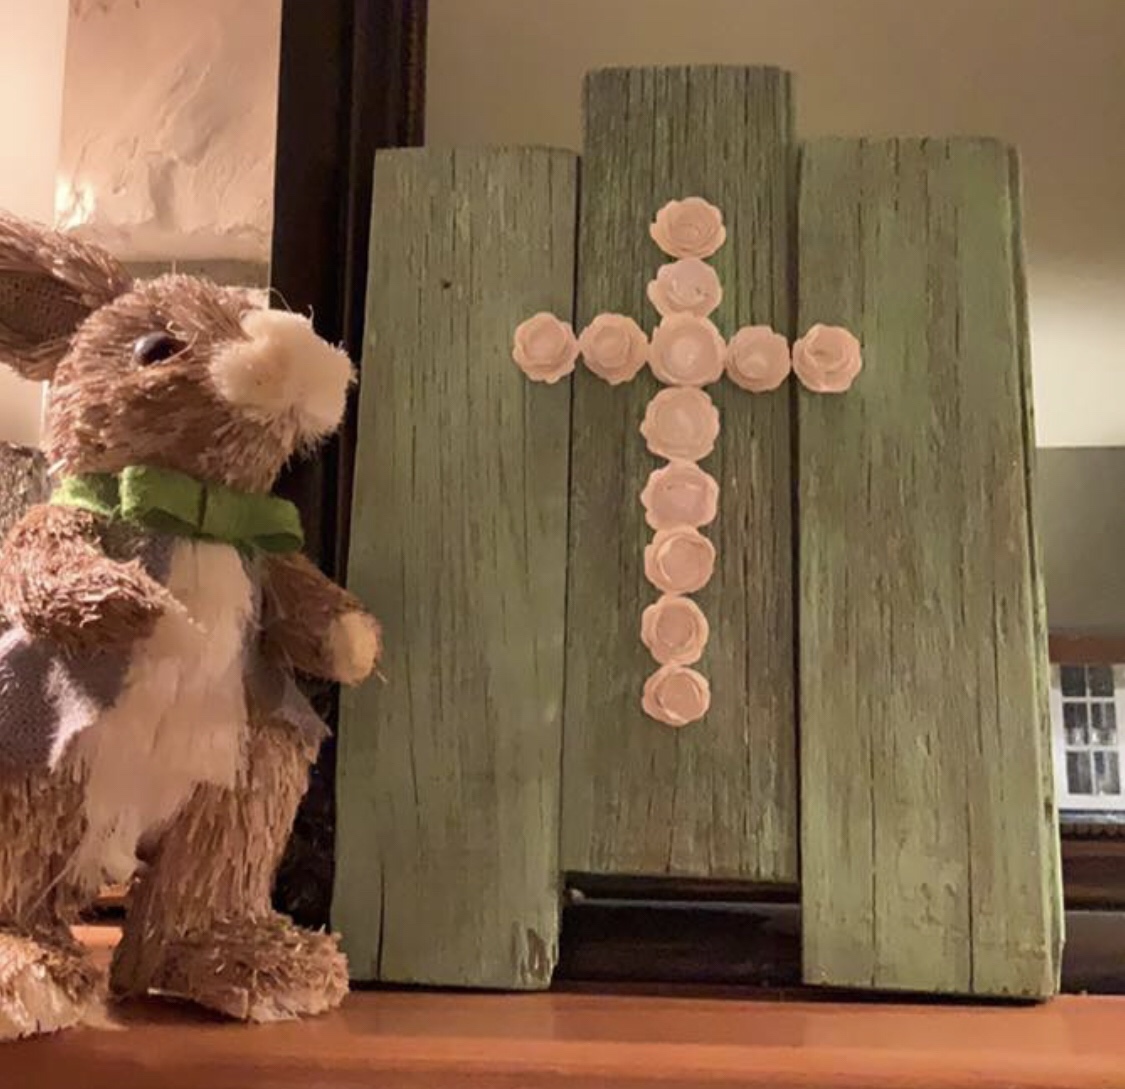
In just about an hour each person left with a beautiful piece of art to celebrate the spring season and Easter.
I love when people take the time out to show their project on display at home. This was Julie’s.
If that’s not the cutest. If you want to make sure you get my event notices like my Facebook page and follow as well. Hope to see you soon!
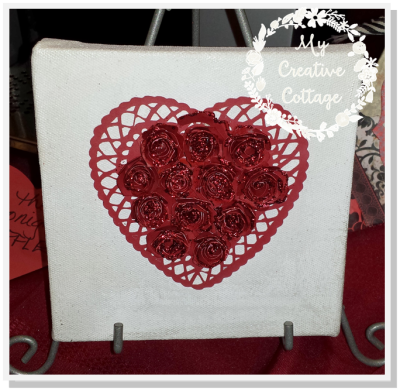
It’s February and love is in the air! I love to decorate my home to celebrate. Here is a fun project using the Cricut Explore.
Start with a simple 6 x 6 canvas. I kept it small as not to overwhelm or get bored and never finish it.
Find a heart shape that has a pretty design. This one reminded me of a doily.
Matter of fact the shape I used is “Heart Doily #M3C3F7 on the Cricut Artiste Cartridge. Heck you could probably find a doily shape to save you a step.
I used mod podge to glue it securely to the canvas.
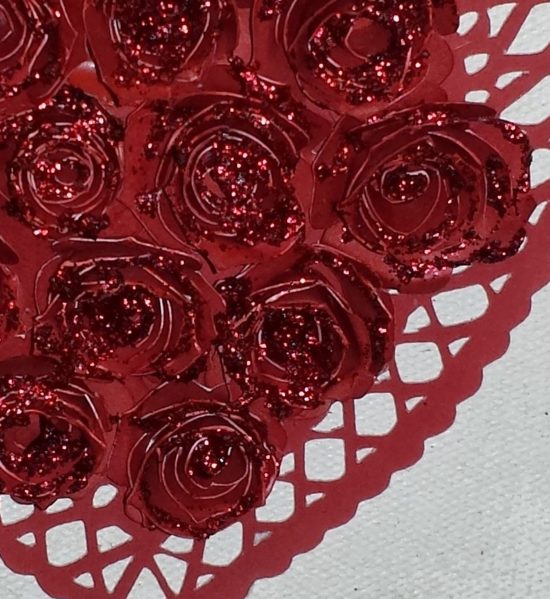
I attached the roses with Liquid Glass, You could always use a hot glue gun. Once the roses were attached I added some texture and shine with a red glitter gel.
Feel free to add the word love or Mr and Mrs. for a wedding. Let your imagination run wild! It doesn’t have to be just for Valentine’s Day.
I hope you are inspired to make your own mini canvas! Be sure to post a picture on our Facebook Page .
I would love to see what you create!
Share
Manage Cookie Consent
To provide the best experiences, we use technologies like cookies to store and/or access device information. Consenting to these technologies will allow us to process data such as browsing behavior or unique IDs on this site. Not consenting or withdrawing consent, may adversely affect certain features and functions.
Functional
Always active
The technical storage or access is strictly necessary for the legitimate purpose of enabling the use of a specific service explicitly requested by the subscriber or user, or for the sole purpose of carrying out the transmission of a communication over an electronic communications network.
Preferences
The technical storage or access is necessary for the legitimate purpose of storing preferences that are not requested by the subscriber or user.
Statistics
The technical storage or access that is used exclusively for statistical purposes.The technical storage or access that is used exclusively for anonymous statistical purposes. Without a subpoena, voluntary compliance on the part of your Internet Service Provider, or additional records from a third party, information stored or retrieved for this purpose alone cannot usually be used to identify you.
Marketing
The technical storage or access is required to create user profiles to send advertising, or to track the user on a website or across several websites for similar marketing purposes.