My Creative Cottage - Connect. Create. Celebrate with Chalk Couture.

  • Facebook
  • Twitter
  • Pinterest
  • Instagram
  • RSS
  • Email

Menu

Skip to content
  • Home
  • Book Your Private Event
  • Shop Supplies
  • Project Gallery
    • Customer Gallery
    • Barn wood
    • Cricut
    • Paper Crafting
  • My Cottage Studio
  • Blog
  • Contact Us
  • Meet Sarita

CTMH June SOTM Blog Hop- Wonderful Friend Father's Day Gift

5 / 31 / 10

Here we are, it’s JUNE! The month of journeys and passages, Dads and Grads. This stamp set is perfect for those occasions!  Welcome to another Stamp of the Month Blog Hop.  We will be featuring June’s SOTM, which is Wonderful Friend, a set of 9 stamps.

If you have come here from Sylvia’s Blog, you are on the right path!
This month we have over 60 Close To My Heart Consultants sharing their creations using this month’s SOTM and other great CTMH products on their blogs. This is simple to do – just click on the link at the end of the post on each blog to move to the next one! Here we go!

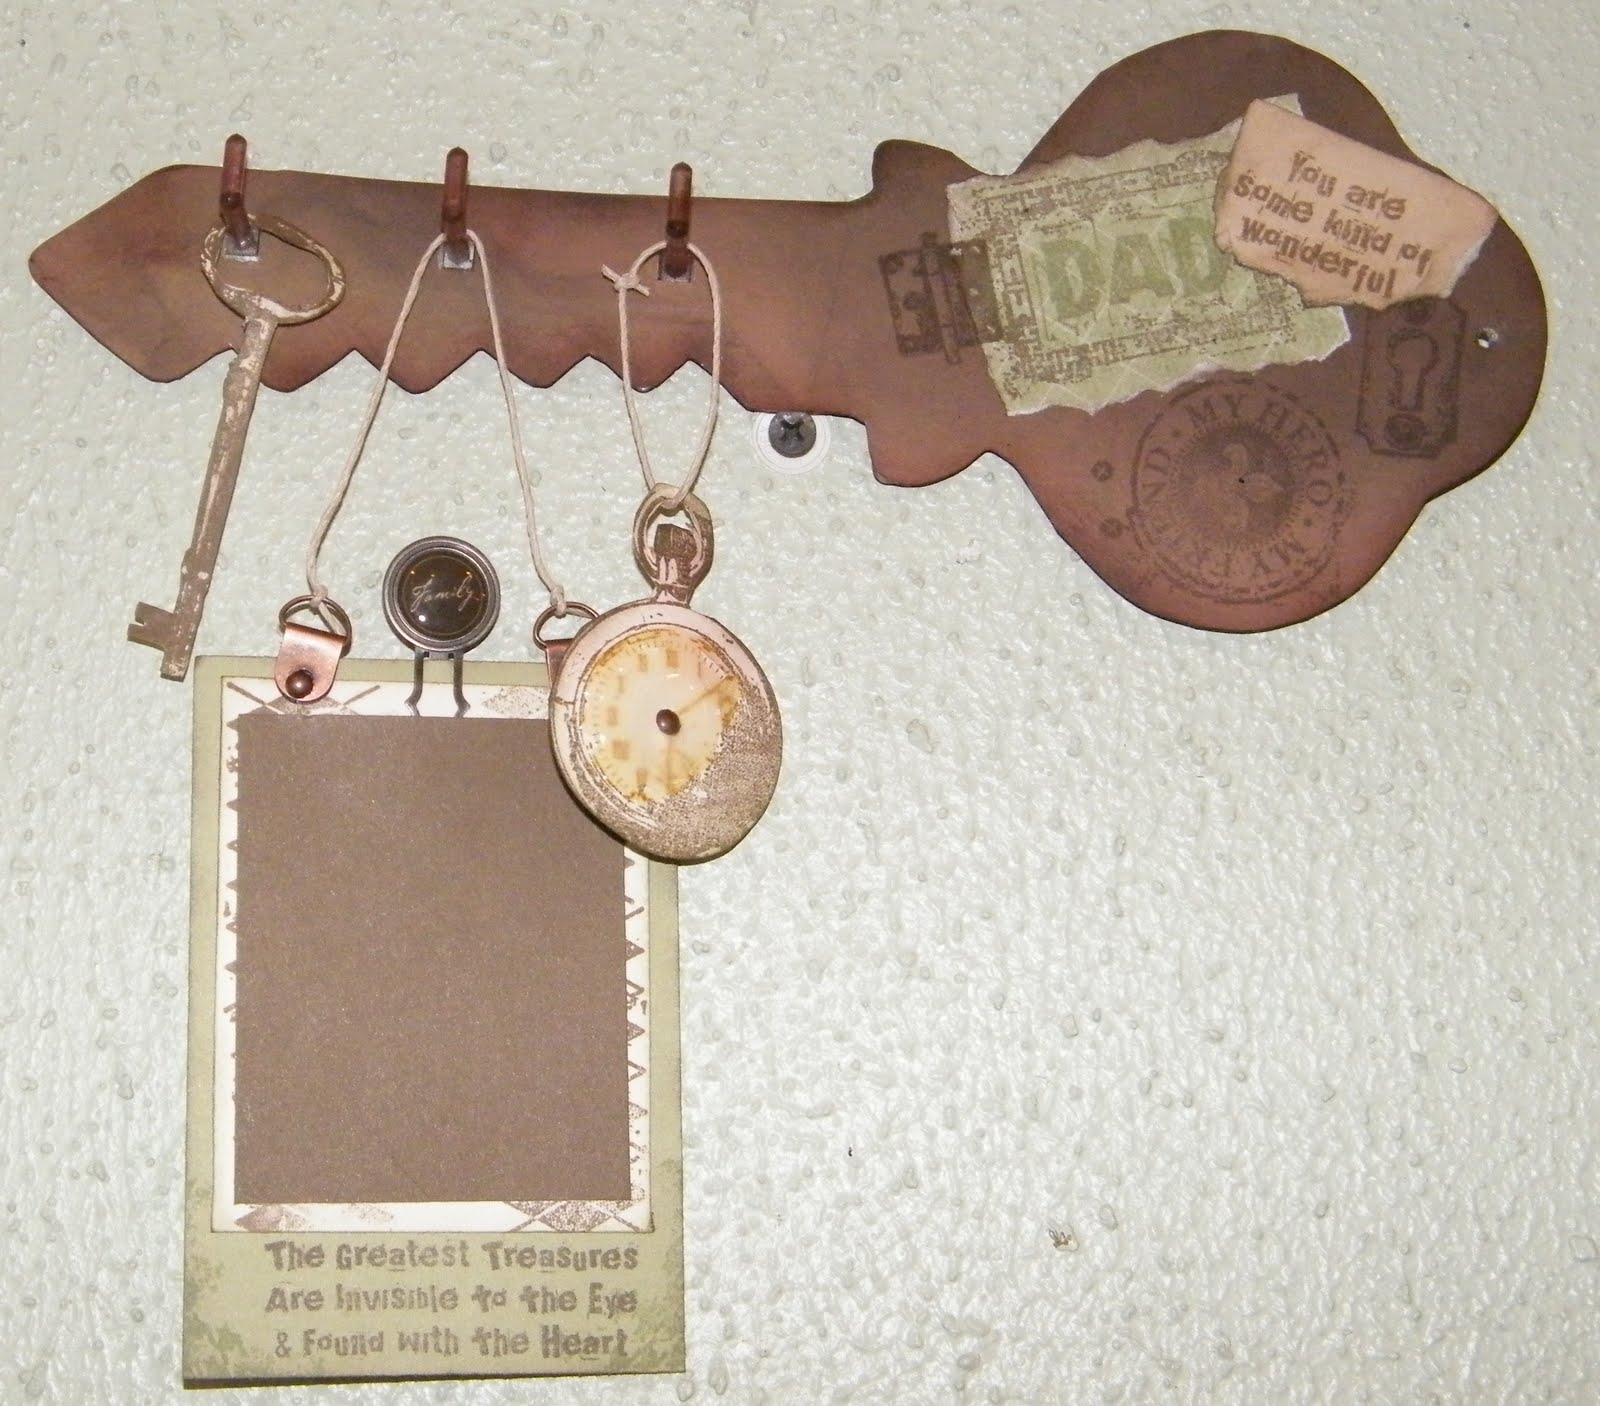
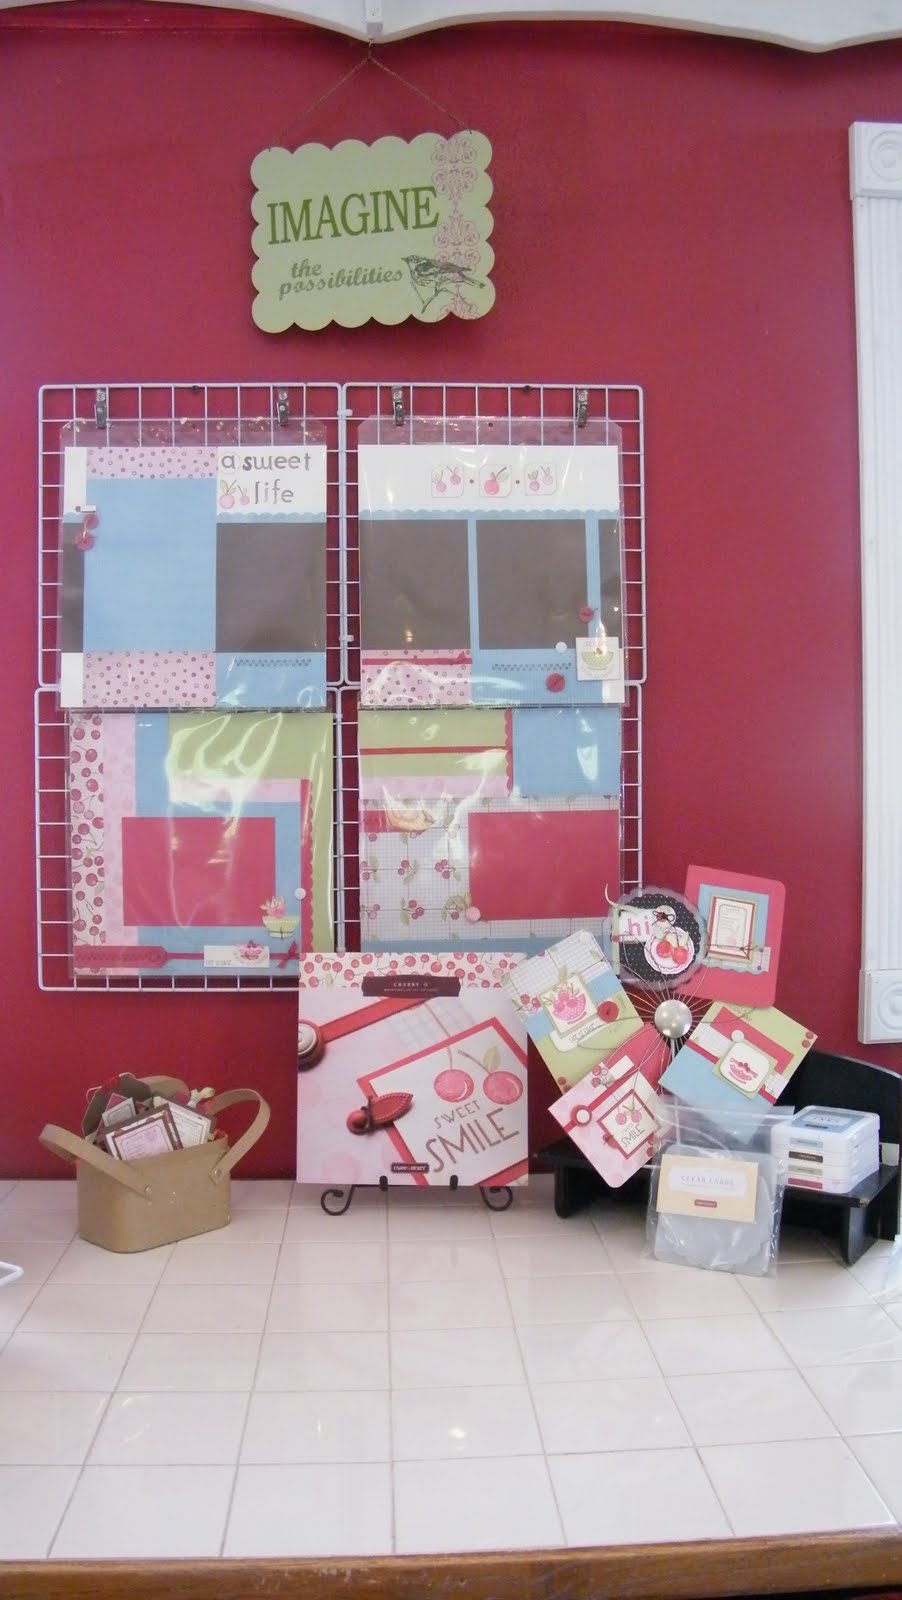
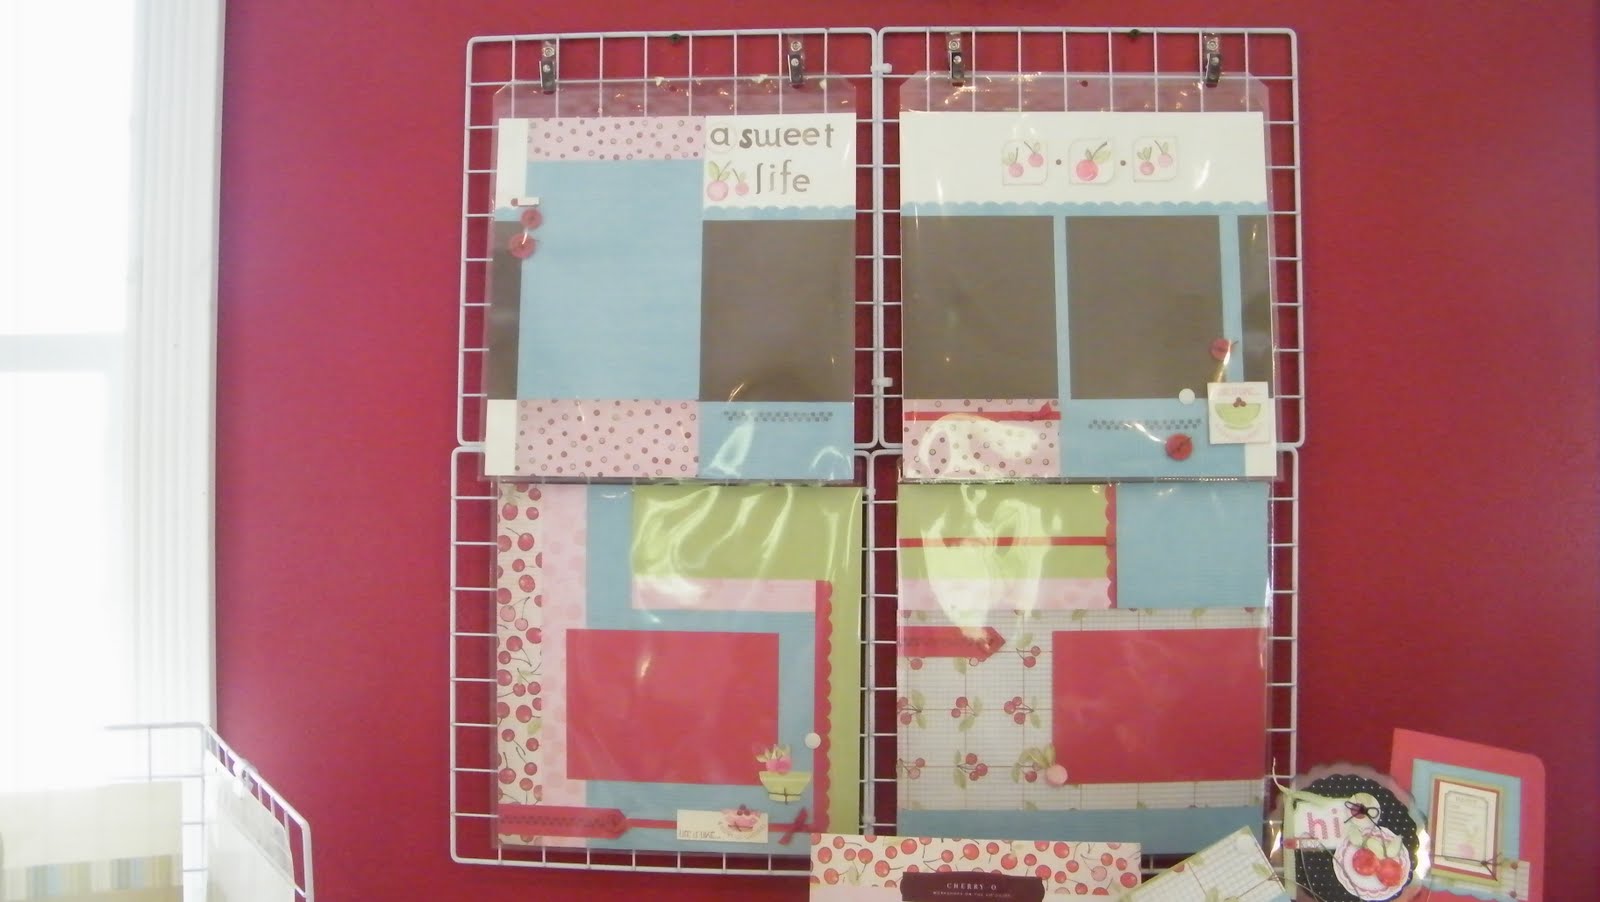
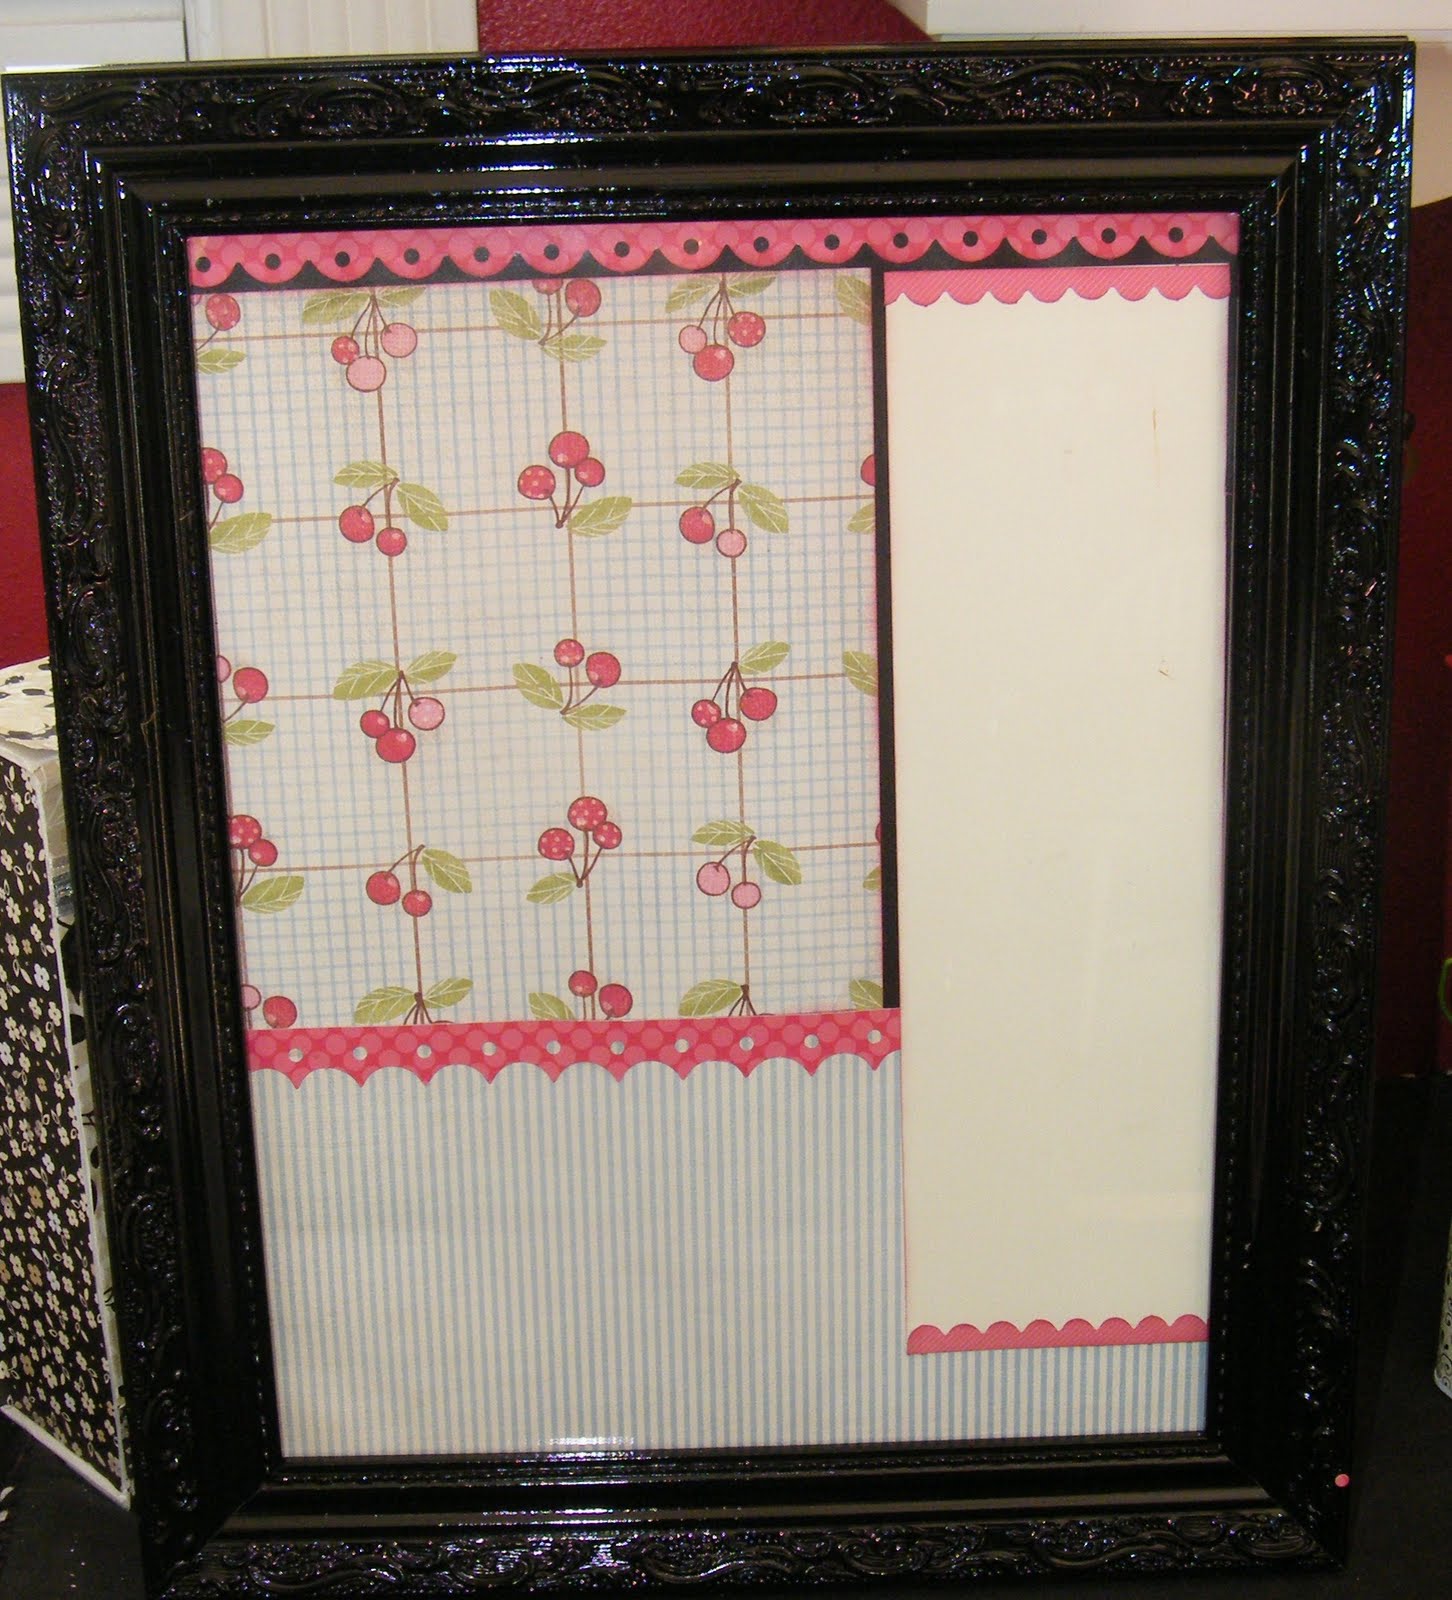
I made a fun wall decoration with a hanging frame. This stamp set pairs pefectly with our new paper, Passages. 
Products Used:
X7126B 12″ X 12″ Passages Level 2 Paper
Z1318 Marks™ Passages
Z293 Photo Hangers
Z2111 Chocolate Exclusive Inks™ Stamp Pad
Z280 Natural Hemp

Plastic Key Holder-a dollar store

My Acrylix® Lifetime Stamp Set -keyhole and hinge. (only found in the Passages Workshop on the Go Kit)
Z679 Liquid Glass on clock image


Now “Hop” on over to my friend, Pamela’s Blog- Cherish Your Memories to see what fabulous work she has created!   Be sure to visit all the Consultants at their Blogs to get some great crafting ideas and other fun ideas! Remember, the June SOTM is only available until June 30! Contact your CTMH Consultant (or click here) to see how you can get this stamp set at a discount or even free!
While at my site, be sure to check back daily for our Jackpot June specials!  Feely lucky? Get great mystery goodie boxes, WIN free products and enjoy heavily discounted shipping! Only on my website!

Share
  • Pin it
  • Share
  • Tweet
  • Share
  • Email
Share
  • Pin it
  • Share
  • Tweet
  • Share
  • Email

A Little Spraypaint and Some Love for my Scrapbook Room

5 / 25 / 10

For the last 5 years I have been working in and on my Creative Cottage.  It is definitley a labor of love!  I love to mix it up in there and make changes that inspire me.  So, in between classes, prepping for workshops, hosting team meetings and crafting with my kids, I am always writing down ideas of things I want to do. When the weather and time allows I can get to them.

Before the heat wave here I was getting crazy with my Krylon Satin spraypaint.  This was my Great Grandmother’s wash stand.  It was really worn and brown.  So, I decided to take a big risk and spray paint it.  I LOVE the results. Of course the custom made matching curtain makes it complete. My friend Trudy is wicked sic when it comes to sewing. 

I also decided to hang some light grid configurations instead of heavy black display boards.  I hung the layouts with badge holders. So far, so good.  If you want to see a closer picture, just click on it to enlarge.

The next project is my Cricut cartridge/ribbon cabinet. I will be painting it black as well to match all the other fixtures on the walls. We are also painting this summer. So, stay tuned for more updates! (hint, if you like the color pallete in Cherry O, you will LOVE my cottage)
Until then-
Sarita

Share
  • Pin it
  • Share
  • Tweet
  • Share
  • Email
Share
  • Pin it
  • Share
  • Tweet
  • Share
  • Email

Teacher Gift Idea- Dry Erase Board w/ CTMH Cherry O Paper

5 / 20 / 10

So, I have seen many different versions of these dry erase boards.  I had to give it a go myself.  I bought this 11×14 frame for $5 at Wally World awhile back.

When I saw the cherry paper I knew I had to make one for my cottage. I kept it very simple. I am sure you can imgine the possibilities with your own home decor.  Here I used CTMH Cherry O papers and our Fancy Cut Borders. I built my design right on the paper that came with the frame. 

I chose to spray paint my frame black with Krylon Satin. It dries in 10 minutes. It has become my new best friend! You can use it on wood, metal and wicker. If you love trash to treasure projects like I do then you should try this.

Now, grab your dry erase marker and leave notes to yourself or your family  Isn’t that great? It wipes right off!  You can see how this would make an EASY gift for teachers. You can find unique frames at the dollar store, thrift shops and Goodwill. Imagine the CUTE papers and stamp images you could use!   I think it would be nice in your kid’s room. You could leave words of encouragment for them and let them know you are thinking of them.  Have fun with it! Be careful, they can be addicting.
Blessings-
Sarita

Share
  • Pin it
  • Share
  • Tweet
  • Share
  • Email
Share
  • Pin it
  • Share
  • Tweet
  • Share
  • Email

CTMH Card Class, Cherish the Moment Stamp Set

5 / 14 / 10

These cards are so fun and versatile.  I hope you will join me to create a set of your own.  We will use the May Stamp of the Month, Tasty Treats stamp set, liquid glass and twinkle brads.   If you want to come, please email me.  Space is limited.
Supplies to bring:
Adhesive
Glue Dots
 Scissors
Classes are held in my Creative Cottage in Waterford. Call or email if you need directions.

Class fee: $10 or FREE w/ a $25 order.

Share
  • Pin it
  • Share
  • Tweet
  • Share
  • Email
Share
  • Pin it
  • Share
  • Tweet
  • Share
  • Email

Dive Into Studio J

5 / 13 / 10

Okay so does this paper make you want to jump right in? We have had nothing but rain here all week, so I am LONGING for summer sun and splashing in the pool.  This could not be more perfect.
This is our new kit, Splash Zone, on Studio J and you will love it!  I taught a class at the Waterford Rec Dept. last night and made this while I was teaching.  It was so fun to watch people’s eyes light up,
when they saw it.
******************************************************
Would you like to play? It is FREE and so easy.  You don’t even need a credit card.
  1. Go to http://blessedscrapper.myctmh.com/
  2. Click on create an account
  3. Input name, choose a user name and password. (Just like all the other sites you visit daily).
  4. Click on enter studio J
  5. Click on create a new project
  6. If you have certain photos that you want to use, click Upload photos
  7. If you don’t have photos, no worries. You can add them later. You can even add more photos to a project as you are working on it.
  8. Pick a paper kit that you want to work with- This is the HARD part! There are so many great papers to choose from. Click on the paper you want to use and it will highlight yellow. Then scroll all the way down and click the continue button at the bottom right of the page.
  9. Choose a pattern for your layout. Again, highlight and click continue.
    Pick a Kit mix- remember, you can always change these papers and cardstocks while working on the project.
***********************************************
    (HINT: Typically you will want to double click it and expect it to open. So, if you remember to highlight and then hit continue you will be all set).
    10.Now for the FUN! Personalize.  Choose embellishments, My Stickease and titles. Add journaling and you are good to go. How will you do this? Highlight, drag and drop. 
    (HINT:You don’t want to use the back button.  It will automatically take you back to my website. Which isn’t a bad thing *wink, because you can enter Studio J again.  Don’t panic, because the beauty of this program is that it is CONTINUALLY saving your project. So, if your computer crashes or the power goes out, you can rest easy knowing your project is safe online. PLUS, there is an undo button). We LOVE that don’t we?
    ****************************************
    Still a bit intimidated? My customers get a FREE one on one session.  Call me and we’ll set up a time that I can help. We can meet at my favorite coffee shop with WI-FI or we can walk through it over the phone.
    (262-813-0118)
    Register and attend my next class through the Waterford Rec. Dept. on June 16th 6:00-8:30.
    See it on the big screen as you work on a computer. All you need to bring is a flash drive or CD with the pictures you want to work with.
    ***************************************************************
    Have a blessed day!
    Sarita

    Share
    • Pin it
    • Share
    • Tweet
    • Share
    • Email
    Share
    • Pin it
    • Share
    • Tweet
    • Share
    • Email

    Dive Into Studio J

    5 / 13 / 10

    Okay so does this paper make you want to jump right in? We have had nothing but rain here all week, so I am LONGING for summer sun and splashing in the pool.  This could not be more perfect.
    This is our new kit, Splash Zone, on Studio J and you will love it!  I taught a class at the Waterford Rec Dept. last night and made this while I was teaching.  It was so fun to watch people’s eyes light up,
    when they saw it.
    ******************************************************
    Would you like to play? It is FREE and so easy.  You don’t even need a credit card.
    1. Go to http://blessedscrapper.myctmh.com/
    2. Click on create an account
    3. Input name, choose a user name and password. (Just like all the other sites you visit daily).
    4. Click on enter studio J
    5. Click on create a new project
    6. If you have certain photos that you want to use, click Upload photos
    7. If you don’t have photos, no worries. You can add them later. You can even add more photos to a project as you are working on it.
    8. Pick a paper kit that you want to work with- This is the HARD part! There are so many great papers to choose from. Click on the paper you want to use and it will highlight yellow. Then scroll all the way down and click the continue button at the bottom right of the page.
    9. Choose a pattern for your layout. Again, highlight and click continue.
      Pick a Kit mix- remember, you can always change these papers and cardstocks while working on the project.
    ***********************************************
      (HINT: Typically you will want to double click it and expect it to open. So, if you remember to highlight and then hit continue you will be all set).
      10.Now for the FUN! Personalize.  Choose embellishments, My Stickease and titles. Add journaling and you are good to go. How will you do this? Highlight, drag and drop. 
      (HINT:You don’t want to use the back button.  It will automatically take you back to my website. Which isn’t a bad thing *wink, because you can enter Studio J again.  Don’t panic, because the beauty of this program is that it is CONTINUALLY saving your project. So, if your computer crashes or the power goes out, you can rest easy knowing your project is safe online. PLUS, there is an undo button). We LOVE that don’t we?
      ****************************************
      Still a bit intimidated? My customers get a FREE one on one session.  Call me and we’ll set up a time that I can help. We can meet at my favorite coffee shop with WI-FI or we can walk through it over the phone.
      (262-813-0118)
      Register and attend my next class through the Waterford Rec. Dept. on June 16th 6:00-8:30.
      See it on the big screen as you work on a computer. All you need to bring is a flash drive or CD with the pictures you want to work with.
      ***************************************************************
      Have a blessed day!
      Sarita

      Share
      • Pin it
      • Share
      • Tweet
      • Share
      • Email
      Share
      • Pin it
      • Share
      • Tweet
      • Share
      • Email

      CTMH Clear Card with Cherry O, Cuttlebug and Cricut

      5 / 3 / 10

      This was so fun to make! When I saw this cherry set I immediately pictured black accents and polka dots. For those of you who know me, are saying of course! 

       I used the Cricut for the large scallop and the cuttlebug for the embossed polka dots.
      A fun technique on the stamped cherrries was using the Remarks Glitter Rub Ons. I applied a thin coat of bonding memories glue pen on top of the stamped image. When it became tacky I rubbed the cranberry glitter sheet over it to make the cherries sparkle.  I also couldn’t resist using the
      Glitz Glitter Glue to add bling to the leaves as well.
      Other products:

      Z1309 4 1/2″ Clear Cards

      D1427 Tasty Treats Stamp Set– stamped scallop shape, die cut tag shape,

      Z1261 Irresistables Lots of Dots– for Hi!

      Z1230 Tulip Accents- (Left over from the Cherry O Workshop on the Go Kit)

      Z888 Black Stazon® Ink Pad– used to edge the card.

      Z2166 Tulip Exclusive Inks™ Stamp Pad

      Share
      • Pin it
      • Share
      • Tweet
      • Share
      • Email
      Share
      • Pin it
      • Share
      • Tweet
      • Share
      • Email

      Posts navigation

      Previous Page 1 2 … 21 22 23 24 25 … 40 41 Next Page

      Hi! It's me, Sarita. A.K.A. Blessed Scrapper. DIY is in my DNA. Life is a constant adventure with a child on the Autism Spectrum and my own AD/HD. I am a life long learner and I love to share with others. So, I hope you'll find something here to inspire you!

      Archives

      Meta

      • Log in
      • Entries feed
      • Comments feed
      • WordPress.org

      Tags

      3-D 3x3 cards Anthology autism Autism Awareness Month barn wood Birthday birthday cards birthday craft Blog Hop card Cards Christmas Christmas Craft Class Close to My Heart Cricut Cricut Artiste Cartridge CTMH DIY Easter Fall family life Gift Bag Halloween home decor kids mini album My Creative Cottage paper crafting Party Decorations random stamping scrapbooking scrapbooking layouts scrapbook layout Scrapbook Layouts stamping Stamp of the Month Studio J tags Valentines Vintage Vinyl Wall Art Waterford
      Site made with ♥ by Angie Makes
      Angie Makes Feminine WordPress Themes
      Manage Cookie Consent
      To provide the best experiences, we use technologies like cookies to store and/or access device information. Consenting to these technologies will allow us to process data such as browsing behavior or unique IDs on this site. Not consenting or withdrawing consent, may adversely affect certain features and functions.
      Functional Always active
      The technical storage or access is strictly necessary for the legitimate purpose of enabling the use of a specific service explicitly requested by the subscriber or user, or for the sole purpose of carrying out the transmission of a communication over an electronic communications network.
      Preferences
      The technical storage or access is necessary for the legitimate purpose of storing preferences that are not requested by the subscriber or user.
      Statistics
      The technical storage or access that is used exclusively for statistical purposes. The technical storage or access that is used exclusively for anonymous statistical purposes. Without a subpoena, voluntary compliance on the part of your Internet Service Provider, or additional records from a third party, information stored or retrieved for this purpose alone cannot usually be used to identify you.
      Marketing
      The technical storage or access is required to create user profiles to send advertising, or to track the user on a website or across several websites for similar marketing purposes.
      Manage options Manage services Manage {vendor_count} vendors Read more about these purposes
      View preferences
      {title} {title} {title}